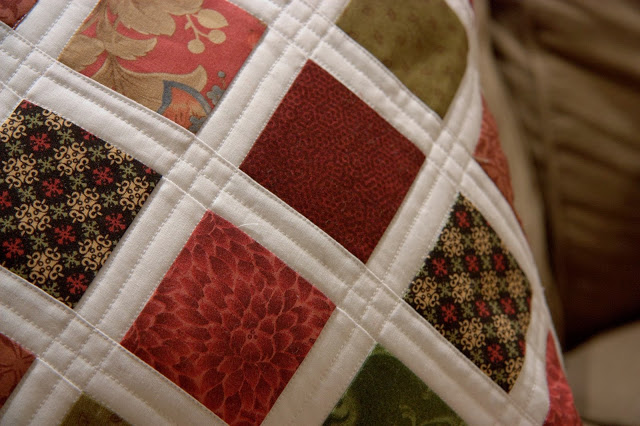
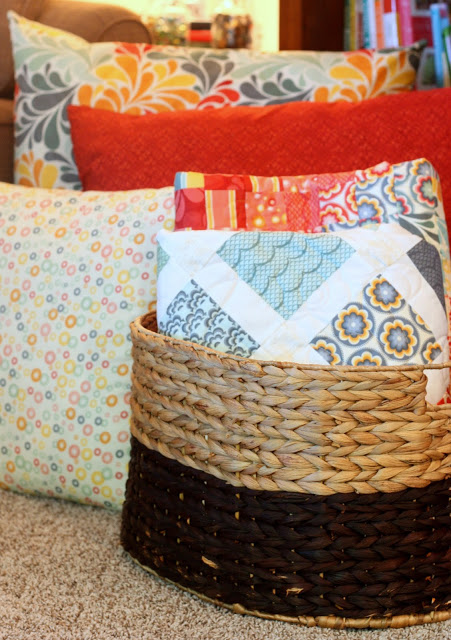
A Quilted Pillow
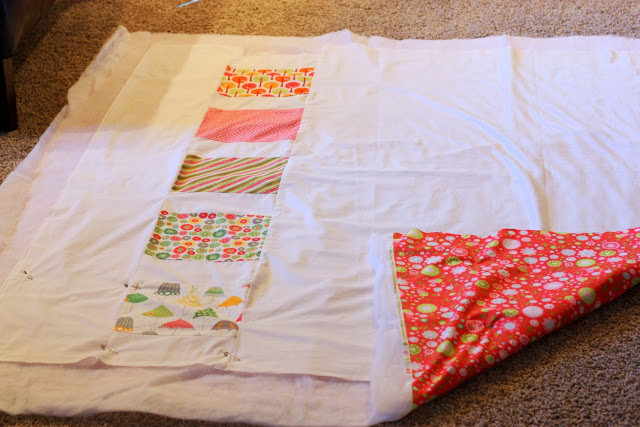
About 2 days before Christmas, I had finished everything I needed to
About 2 days before Christmas, I had finished everything I needed to
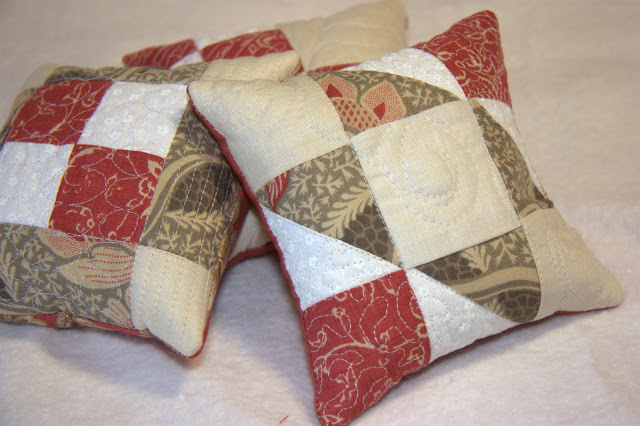
I’m kind of in love with these little pin cushions. I signed
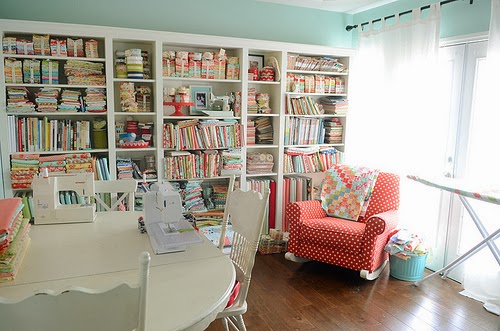
Have I mentioned how much I love to sew? I have a
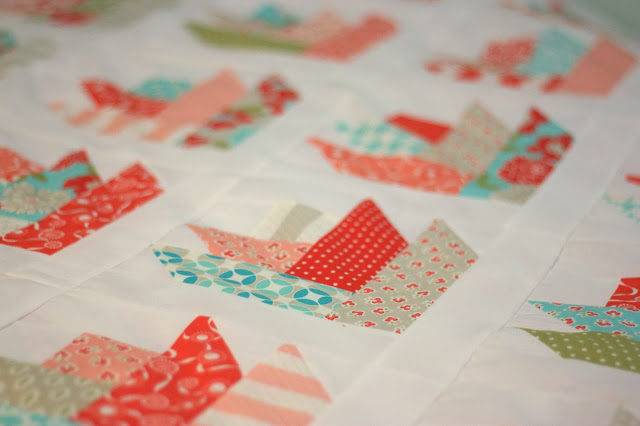
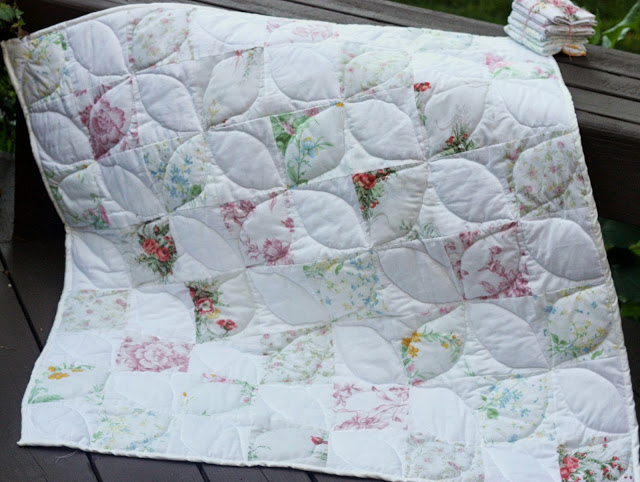
The quilt top is done! I’ve been working on this quilt for
I love to sew. Quilts and home decor are my favorite things
I can remember a time in my sewing life, when I walked
My daughter is always finding pretty fabric (and begs to buy it)
A few months ago I was browsing different sewing blogs and came
I think I’ve discovered a perfect project for someone who is learning
I’ve been working on a pillow pattern for Grown Up Sewing Camp.