My New Favorite Quilting Tool for Half Square Triangles
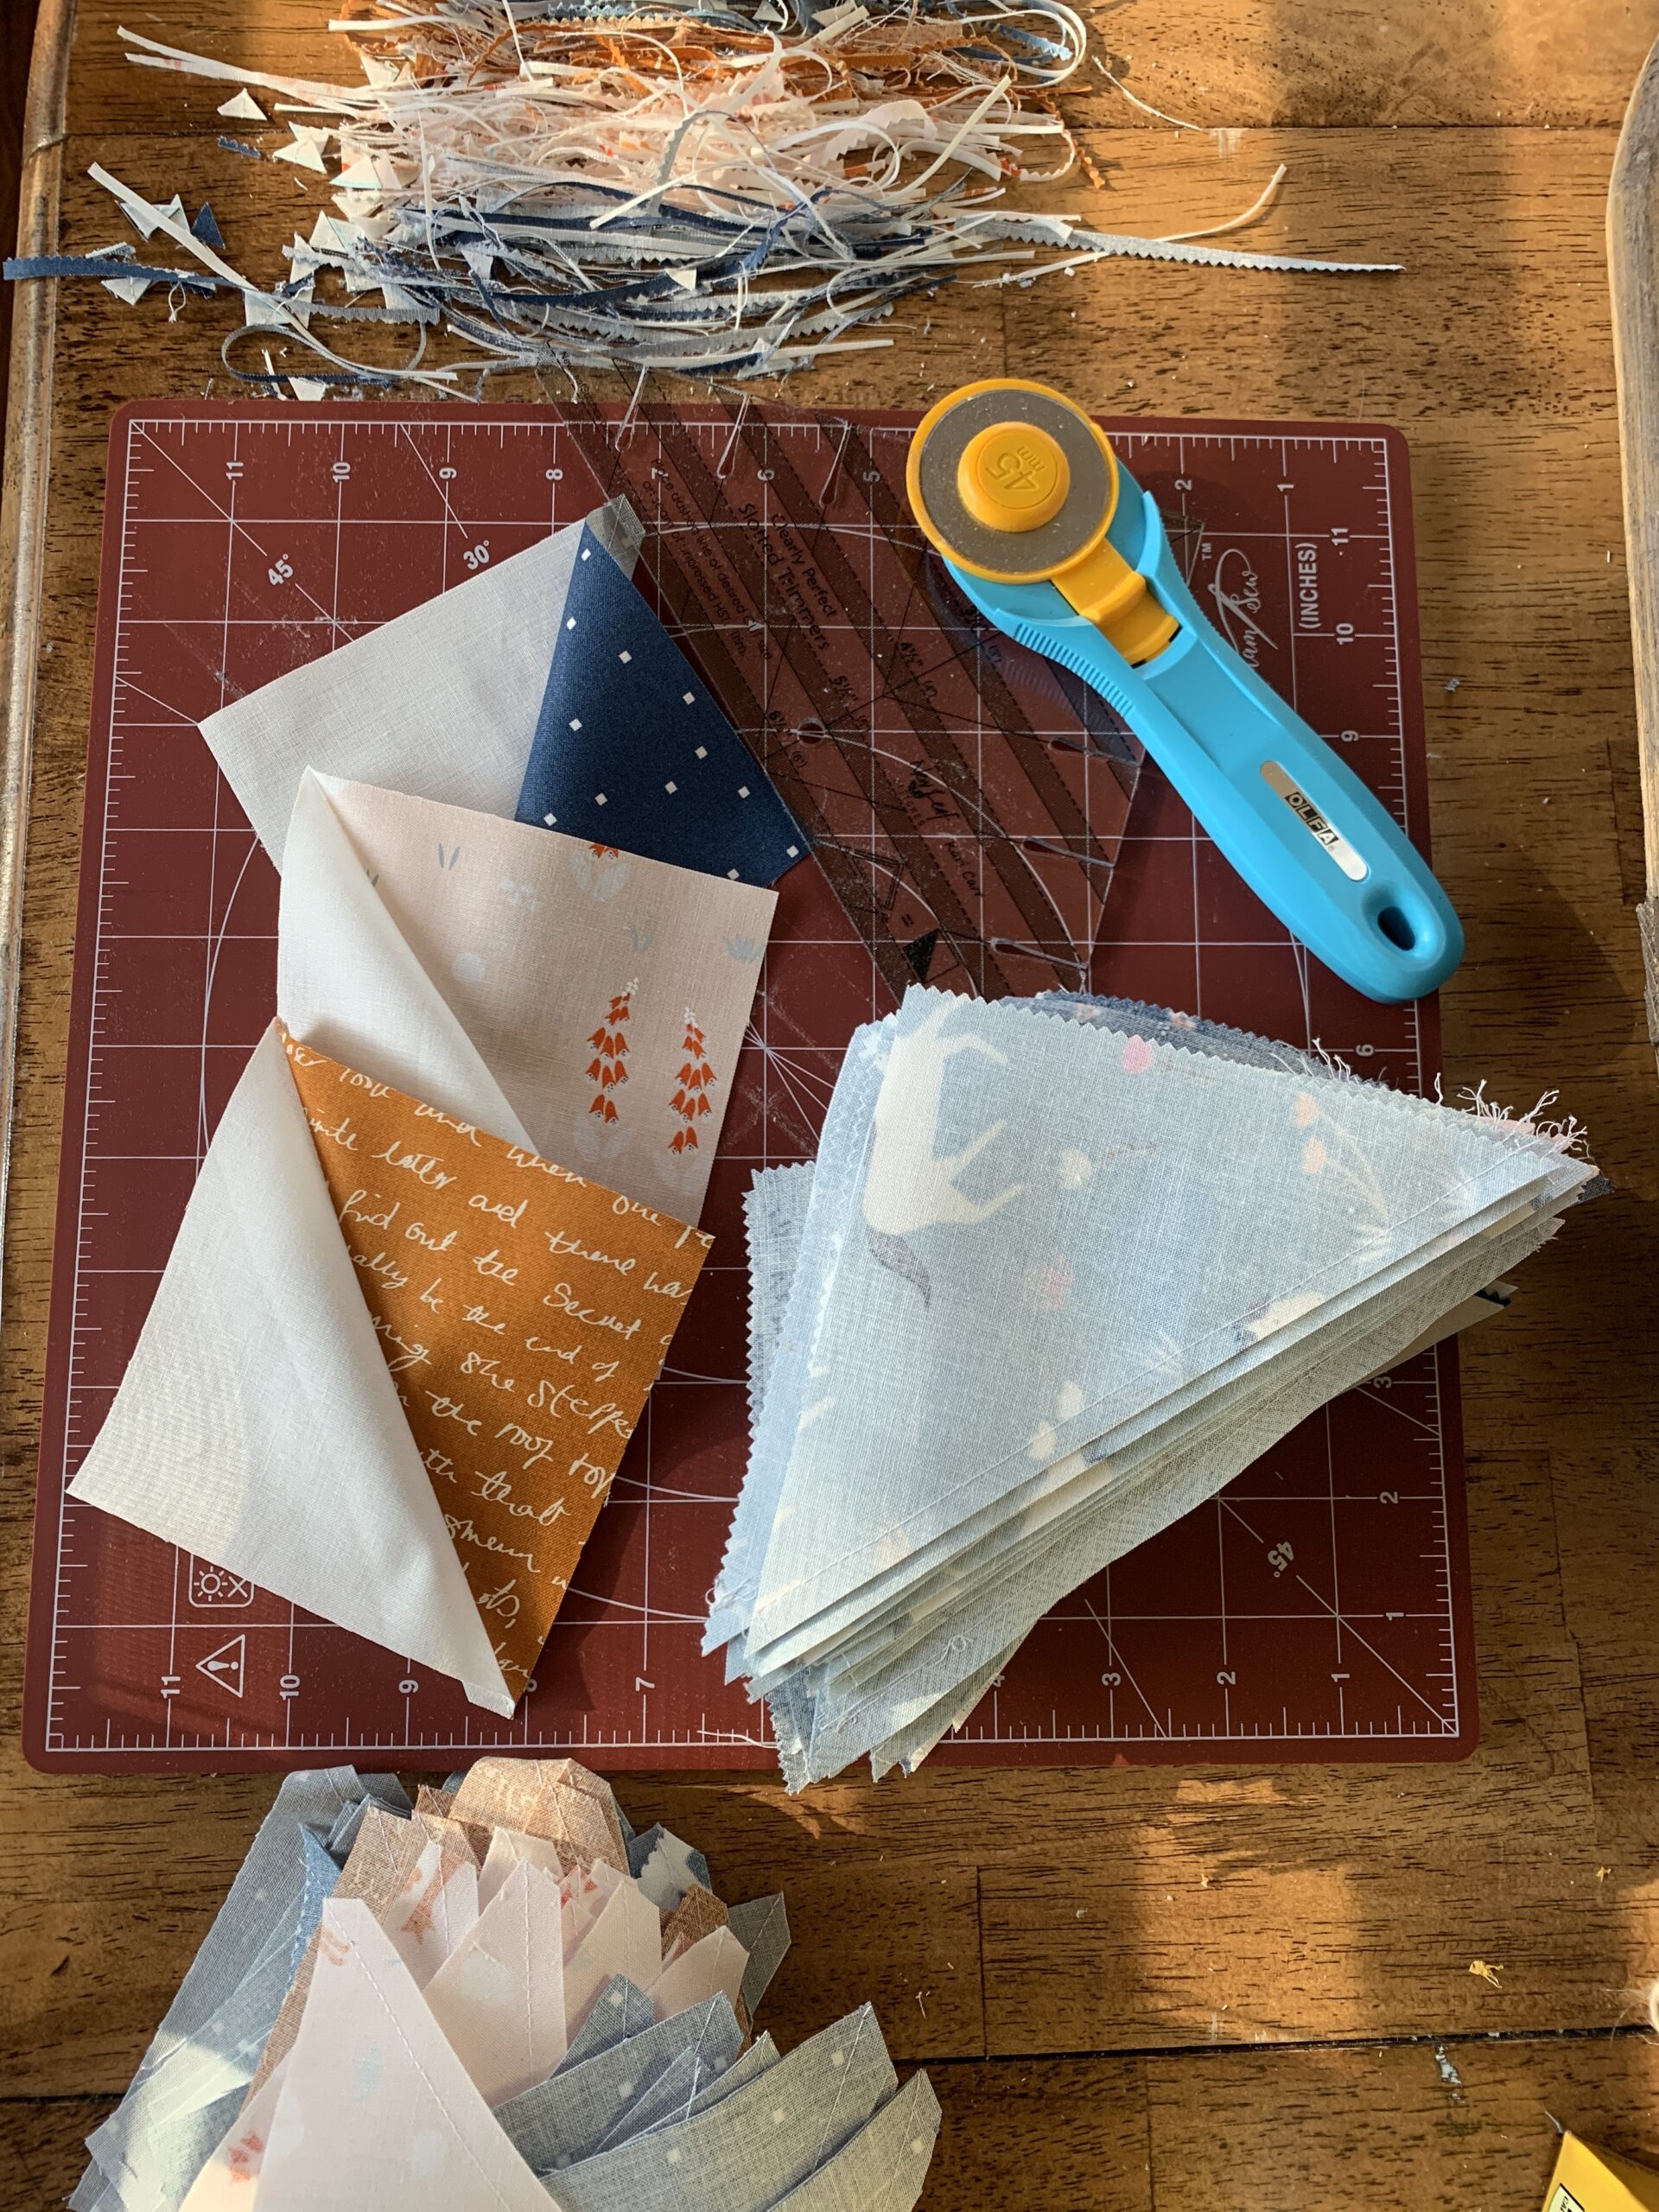
Half Square Triangles and the Clearly Perfect Ruler
Half Square Triangles and the Clearly Perfect Ruler
I can remember a time in my sewing life, when I walked
I don’t consider myself to be very artistic, but I do follow
I can remember a time in my sewing life, when I walked
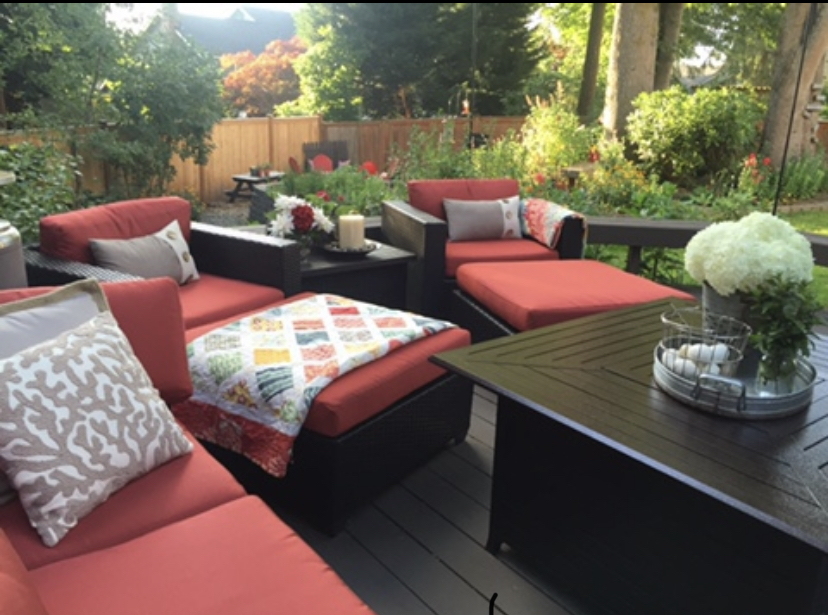
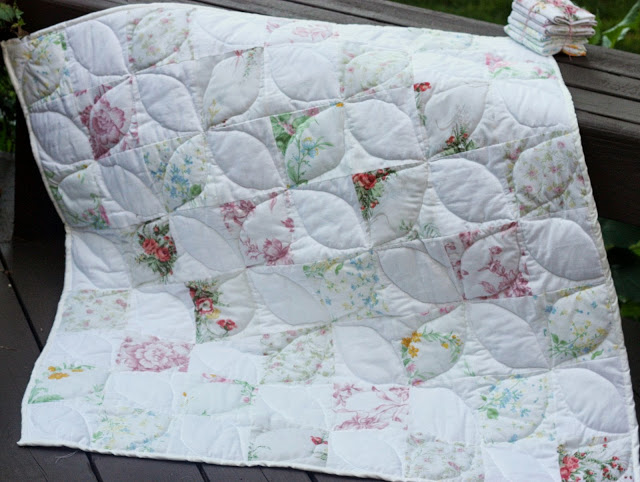
When I got the urge to start this quilt, the fabric had
A few months ago I was browsing different sewing blogs and came

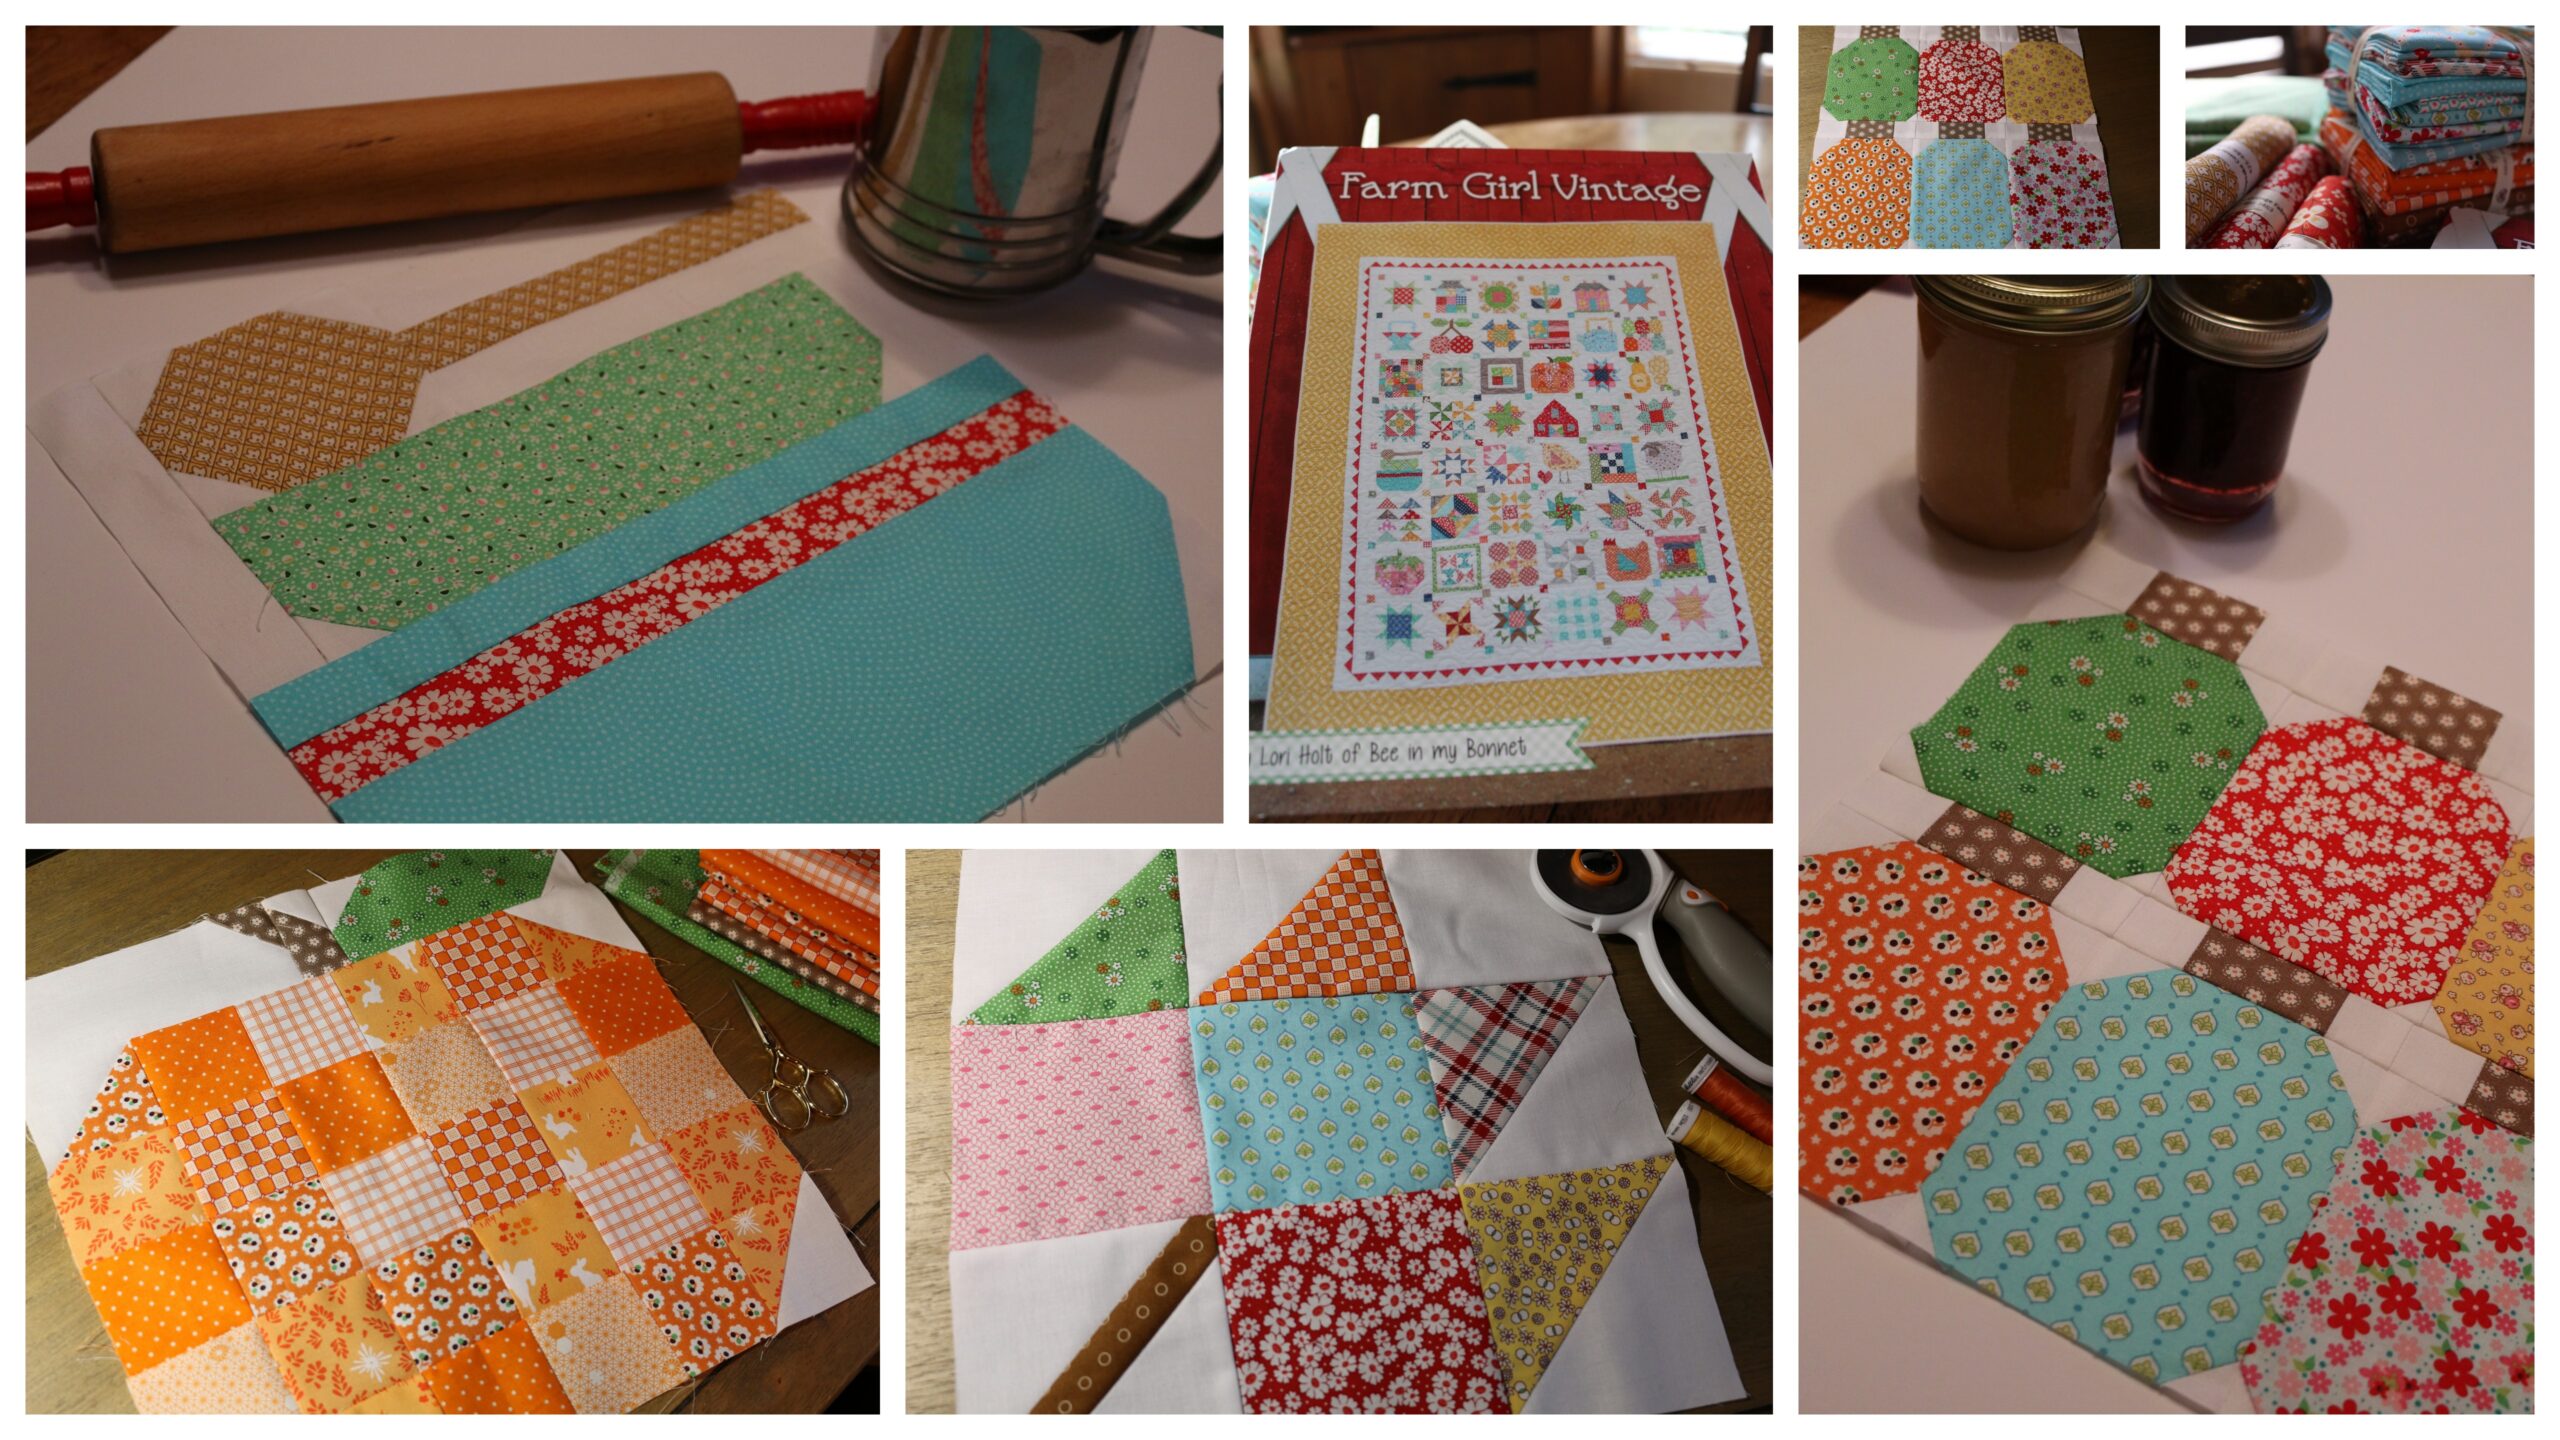
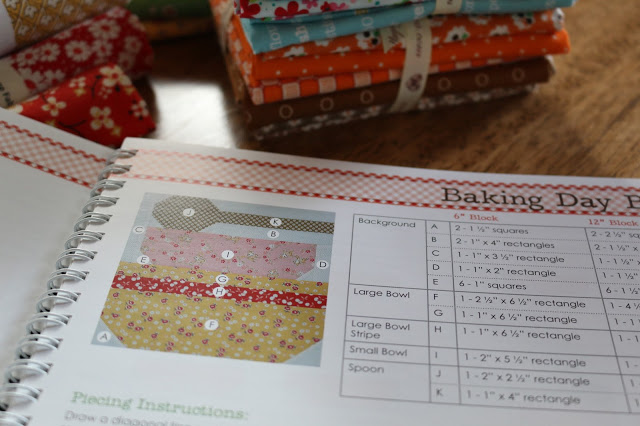
My Farm Girl Vintage quilt project is just in the beginning days,
The other day I ran across a photo on Instagram of a
There are some months that I sew several times each week. September