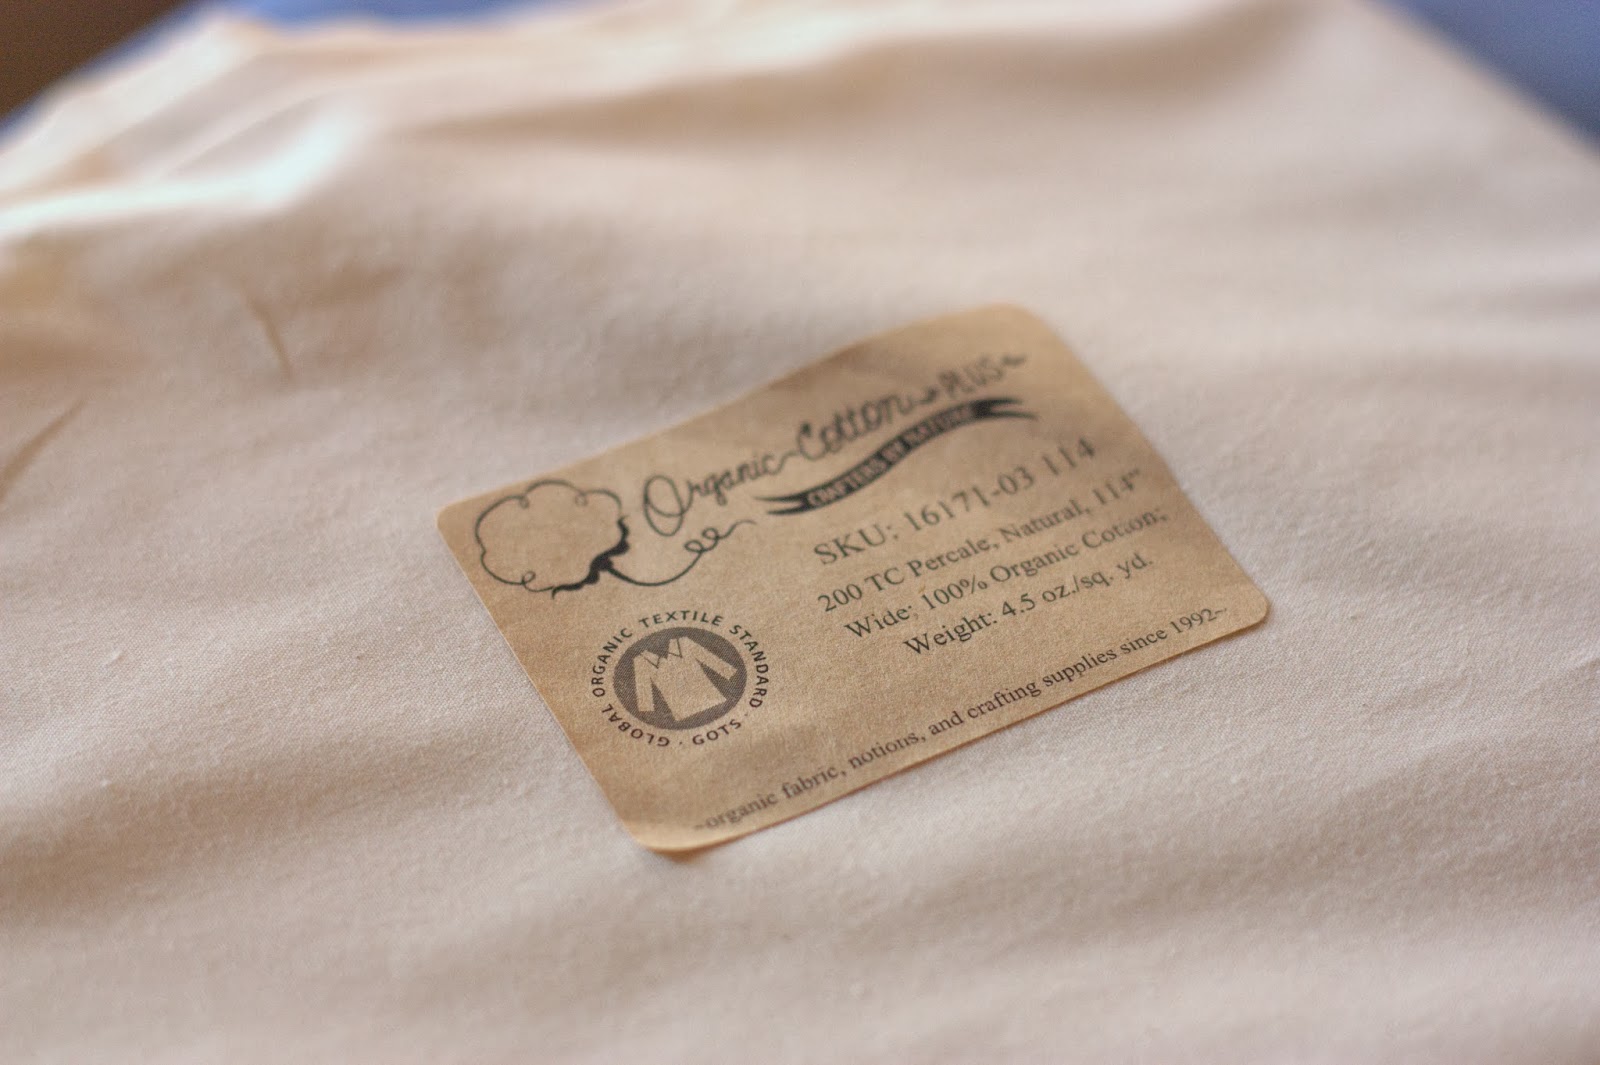
About a month ago I received an email from the nice people from Organic Cotton Plus. They asked if I would be interested in doing a review of their fabric. Now, you know that I really love to sew, but I wasn’t sure I wanted to use my blog as a place to simply review products. I love telling my friends/readers about products I love, but I wasn’t so sure about sponsored blog posts. I’ve done a few, here and there, but I want to be choosy about the companies I align with. Right about the time I was “sitting” on that email and just thinking about whether I was interested, I started planning my pillowcase sewing projects. At the same time, I was watching Dr. Oz and the guests were talking about all of the horrible toxins that are in our furniture, bedding, blankets, etc. As I was watching, I was thinking to myself, “It’s too bad all sheets aren’t made from organic fabrics.” My mind wandered away from Dr. Oz, and I grabbed my iPad to check out that Organic Cotton Plus website. I emailed the company and told them that I would, indeed, be interested in doing a review and asked for suggestions on pillowcase fabrics. A nice 200 thread count percale was suggested, and a few clicks later, my order was being processed.
They sent me a few yards, from a percale that is sold in an extra wide width. More fabric for me to play with!
The fabric that arrived looked slightly darker than I thought it looked in the online photo, but it was still a perfect neutral. I could have just been their lighting vs. my lighting. I believe the color I chose was called Natural and I’d say it’s exactly that. If you sew with Warm and Natural batting, the color was quite close to that. It was a very smooth, slightly stiff fabric. It was exactly what I would expect from a 200 thread count percale. Do you know how you can feel the difference between quilting fabric and sheets? Well, that’s kind of what I’m trying to describe. New sheets just feel kind of stiff, but in a “my grandma probably would have ironed these” type way.
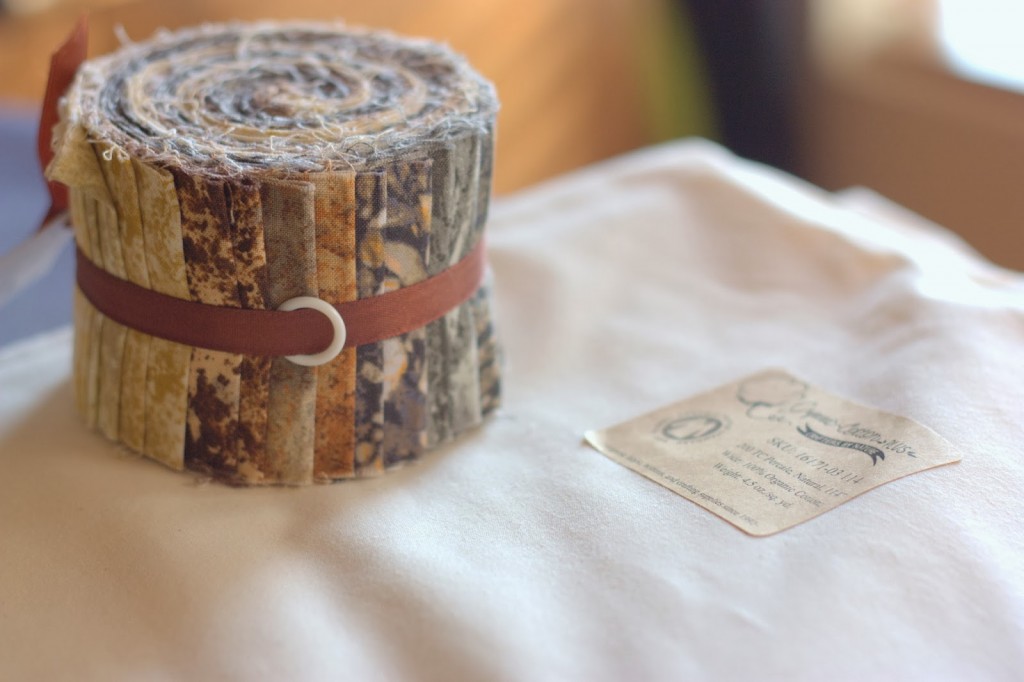
My hubby (bless his heart) bought me a mini-jellyroll for Christmas. He was looking for something to put in my stocking, so he went into Jo-Ann’s and found a jellyroll he thought I’d like. He’s a keeper.
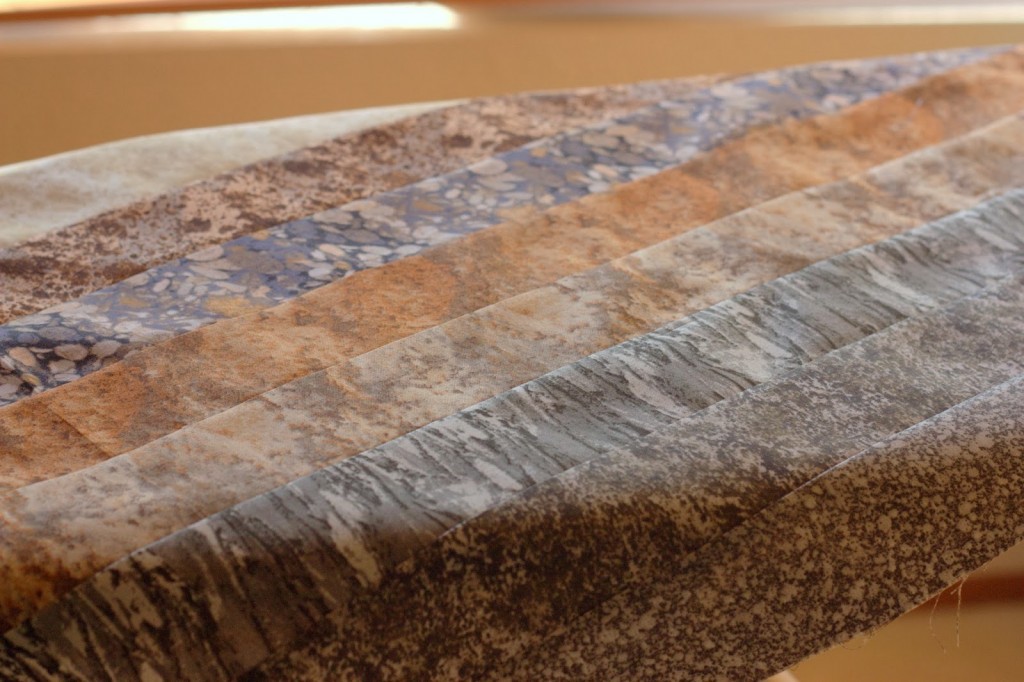
After setting the jellyroll on top of my organic Natural fabric, I knew it was a good match. Now, you may be wondering why I was so quick to add non-organic fabric to my organic pillowcases. Knowing that I would just be using the jellyroll on the edge, I figured it would be ok. The main part that you put your head on would be organic. Also, I kind of wanted to sew with this fabric before jumping in and buying anything from the Organic Cotton Plus website. My fear was that I’d notice a bunch of imperfections from my organic fabric. I really had no idea what to expect. This is the first time I’ve ordered fabric online before.
By the way, there were no imperfections in the fabric. It was actually quite impressive and I really enjoyed sewing with it.
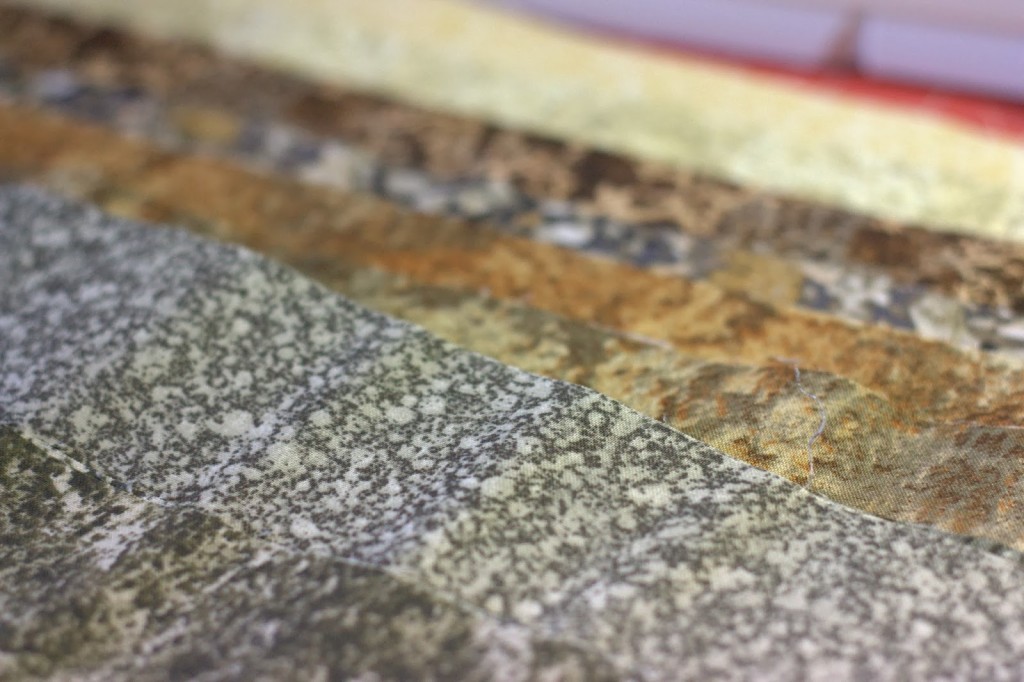
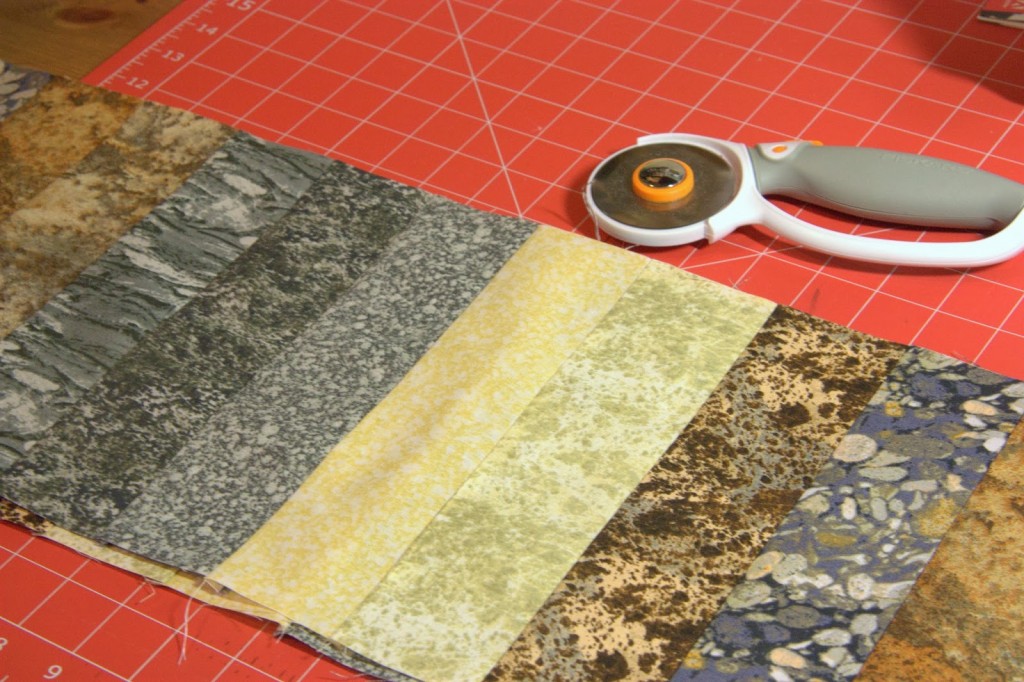
When I opened the jellyroll, I had to decide which order to sew the strips into. I was making this pillowcase for my son’s room, which is gray, tan, khaki, and heavy on the blah-ish colors. The jellyroll fabrics were really perfect for his room. They were boyish and just the right tones.
I sewed the fabric strips together with a quarter inch seam. Then I pressed the strips toward the darkest layer.
Next, I cut 9 inch strips across the strips I had just sewn together. This whole strip needs to be 9×44-ish, when cut.
The main fabric for the pillowcase needs to be 27.5″x44″. Lots of times, when you buy fabric, it comes in 44″ widths. This fabric was extra wide, so I had to cut it down a bit. I’ve learned that when you’re working with lots of fabric, the “snip and rip” method works very well. I straightened up the edge, measured down 27.5 inches, made a little snip in the fabric, and then ripped it all the way down. The fabric will rip right on the grain. It makes it so much easier to work with and you don’t have to cut through all of the bulk. I use this same method when working with vintage sheets.
I also cut a 3 x 44 inch strip of gray, just to use as an accent color. I folded it in half and pressed it. (Kind of like making quilt binding.)
The next few steps will kind of make your head spin, if you’ve never done this before.
Lay the jellyroll strip so that it’s right side up. Lay the accent piece on top of that, and then the pillowcase fabric on top of that. The picture below show this step in process. See the three layers? I just haven’t lined them all up yet in this photo.
This one shows them all lined up. Don’t worry if your edges don’t match up. You’ll trim those off later.
At this time, I pinned those pieces together, just because I didn’t have much table space to work on. You don’t actually need to pin here, because you’ll just be taking these pins out after you roll it. It’s your choice. Then you start rolling the pillowcase fabric. Stop rolling a few inches from the top. Don’t roll the jellyroll fabric up yet. That step comes next.
Once you get the pillowcase rolled up, you fold the jellyroll fabric over the top of the little roll. Then pin it. The goal here is to sew the layers together without sewing that roll into it. One layer is sewn in, but not the whole roll.
Sew up the edge.
See how it looks when it’s all sewn up. This is why they call it a burrito pillowcase, because it’s wrapped up like a little burrito.
Then you need to turn this little burrito right side out.
See how it looks now? You have the jellyroll fabric, the accent fabric, and the body of the pillowcase.
All of the seams are hidden inside and it looks neat and tidy.
At this stage, I started thinking about all of the ironing I would need to do each time I washed the pillowcase. I decided to put a little stay stitching along the edge. I did it about an eighth of an inch away from the original seam.
Here’s another tricky part. It’s time for the french seam. You now have three open edges of the pillowcase. One of the edges will stay open because you are putting the pillow in that way. So, for the french seam, you sew wrong sides together. It’s opposite of how you do most sewing. The pretty sides are out. Then, you will flip it wrong side out and sew up that same edge again. The first time I use a quarter inch seam and for the second run down, I use an almost-half-inch seam for this. This totally encloses the raw edge and you will never have little threads coming out. I had to watch a few YouTube videos on French Seams before this step made sense. You need to do French Seams on the open side and the bottom. Then, you’re done!
One last press and it’s all ready to go into my son’s rooms. I made two of these pillowcases because he has a bigger bed now.
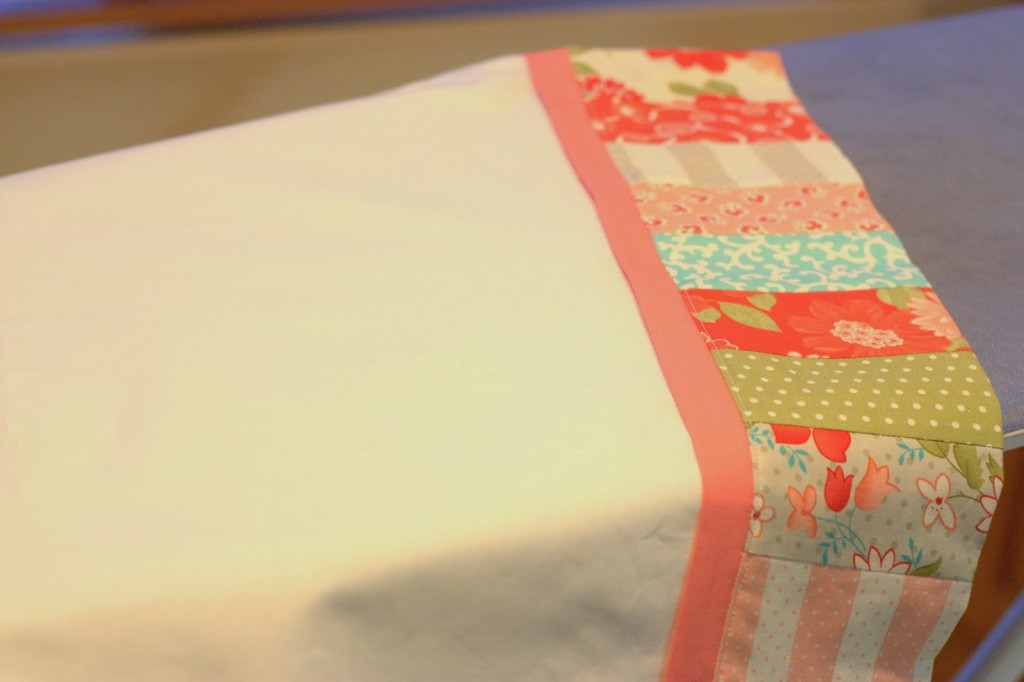
In case you missed them, here are the girly pillowcases I made last week. They are a lot more “sugar and spice” and a lot less “Duck Dynasty” but they both fit my kids’ room styles.
The girly pillowcases were not made with the organic fabric from Organic Cotton Plus. I just thought I’d throw those in to show you a few examples of cute pillowcases.
Tomorrow’s post will be about why we should bother sewing with organic fabric. The nice people at Organic Cotton Plus shared a few links with me and I’ve learned some new things!
Happy sewing, Friends!

The Comments
Laura Lane
Great tutorial! Thanks.