Classroom Chairs
I just realized that I never actually pushed the “post” button on
I just realized that I never actually pushed the “post” button on
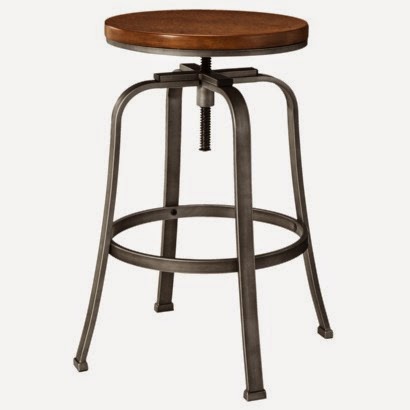
I’ve been thinking about getting new barstools lately. I’ve been contemplating it
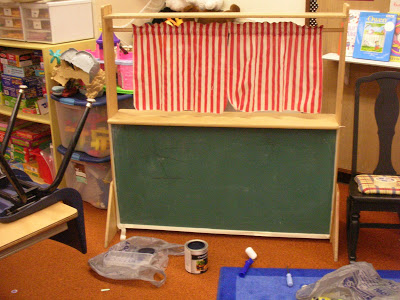
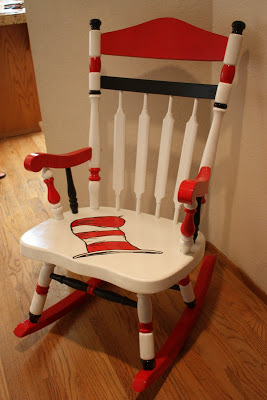
I usually don’t share many school projects on this blog, but I
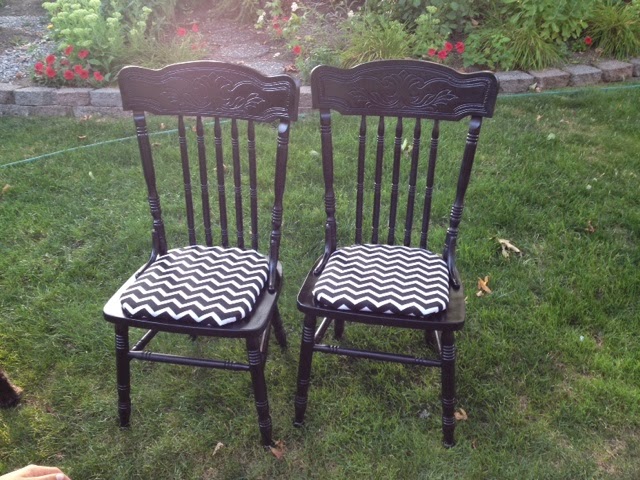
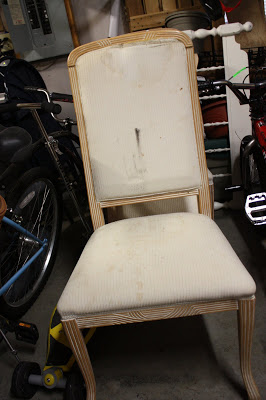
I bought these chairs, last week, at Goodwill for $2.99 each. They

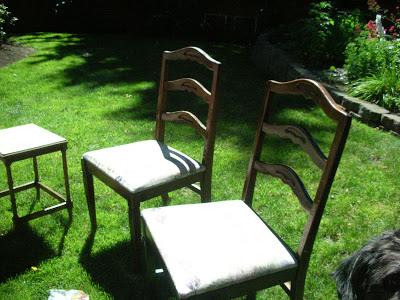
Last week I blogged about my Craigslist dining table and chairs. It
This project has been a long time in the making. Last January
Here’s a little background to this story: My Friend Debbie: “Hey, I
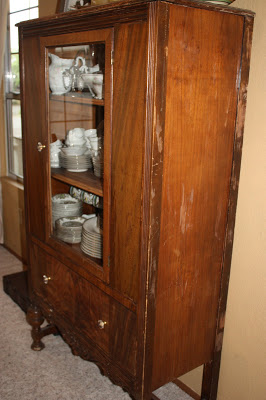
About ten years ago I spotted this piece of furniture in my
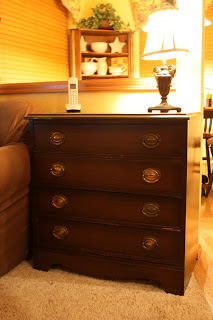
I had every intention of finding a great piece of furniture, painting