
When I got the urge to start this quilt, the fabric had been sitting on my sewing table for quite a while and I really had no plans for it, so a quilt seemed like a good choice. I wanted something simple and mindless. I wasn’t in the mood to think too hard about measurements and fabric placement. I just wanted to sew. I came up with a VERY simple quilt top, which I figured I’d try free motion quilting on. I wasn’t too excited about the free motion quilting part of that idea, so when I finished, the quilt tops sat there for about half of the year. Finally, I decided it was time to get these quilts out of the craft room and into the family room. While I was at it, I took pictures of the quilt binding process.
If you’ve ever wanted to learn to bind a quilt, here’s the step by step tutorial. If you really don’t care, please don’t waste your time reading this, because it’s very picture heavy.
I use 2 1/2 inch strips when I make quilt bindings. I use a cutting mat, rotary cutter, and quilting ruler to make sure my strips are perfect.

Once the strips are cut, it’s time to join them together. I place two pieces (right sides together) and sew from corner to corner. I overlapped a little on the ends of each piece because I knew I’d cut that part off. You can draw a line to follow if you’d like, but I just eyeball it.

When you open in up, it looks like this. Press the seams to one side and then keep adding more strips in the same way.

Next, you need to iron your fabric. In the past I would fold my fabric, wrong sides together, finger press it down, and then iron it. It’s not hard and it’s not too time consuming, but then I spotted this cool contraption on a quilting show on PBS. (There I go again, admitting that I spend my spare time watching sewing shows on public television. Nerd alert!) This is a binding maker from Singer. It is so cool! It folds, presses, and spits out perfect quilt binding in about 2 minutes.

It comes out of the machine perfectly pressed. That little piece on the end is the iron. It has a little roller in it so everything is automatic. If you sew, you know how cool this is! It even makes piping, although I haven’t tried that yet. Ok, so if you don’t have this cool machine, just fold the fabric in half and iron. That’s the way I have made it for the past 15 years and it works just fine.

Ok, maybe just one more. See how it fold the fabric for you before going into the iron. You can get that tip in other sizes too. It’s “sew” much fun!

To start binding my quilts, I usually don’t start at a corner. I just pick somewhere in the middle, at the bottom, and line my binding fabric up. You’ll notice that I have the raw edge of my quilt lined up with the raw edge of my binding fabric. The over hanging fabric is my quilt batting, and you can’t see it but the backing fabric is there too.

Line the presser foot up along the edge of the fabric, backtack a few stitches and then start sewing a straight line.

When you get to the end, turn the fabric under again, like you did at the beginning. That gives it a nice clean edge.

Hey, look at that! Someone got a pretty new cutting mat! I really needed a new cutting mat and found this one in red. I’ve never seen a red cutting mat before, but I’m loving it!
I use my ruler and rotary cutter to remove the extra batting and backing fabric. I line the quilt ruler up along the edge of the binding fabric and cut. This still leaves that 1/4 inch seam allowance. Don’t cut that off, because it’s what makes the binding fluffly.

Flip the quilt to the back side, roll the fabric around the edge and pin. I really hate pinning, so I only do it when I really have to. The first couple of times you bind a quilt, you’ll want to pin. After that, just hold it with your fingers and go for it.

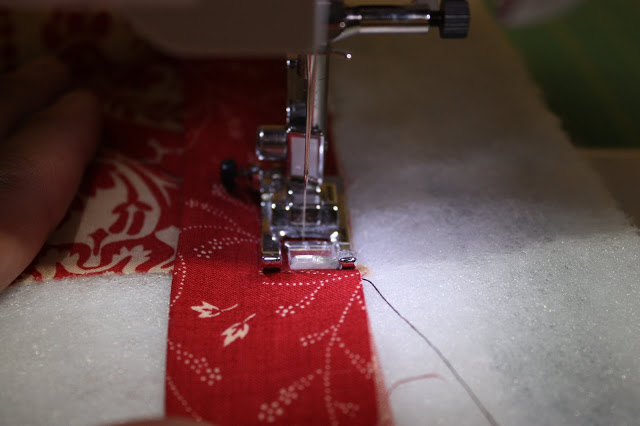
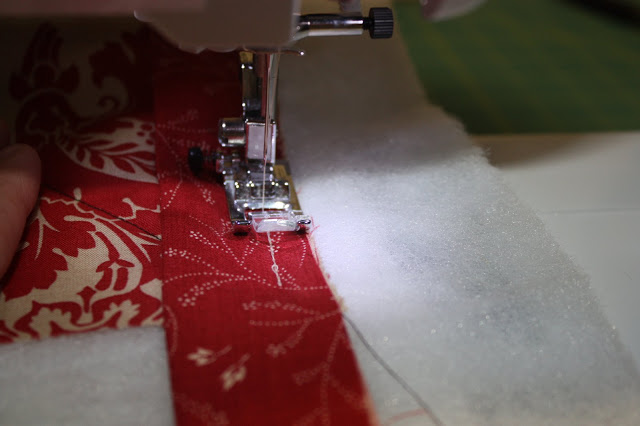
When you are sewing the binding down, you want to get REALLY close to the edge. See how my needle is right next to the edge of the binding fabric. I want to go right along that edge. It takes some practice.

It makes a nice mitered corner. When you get to the point, put the needle down into the fabric, and turn the quilt so you can keep sewing.

Here’s my finished quilt. I can’t say I’m in love with it. I love the fabrics, but I’m a little bored with the finished product.
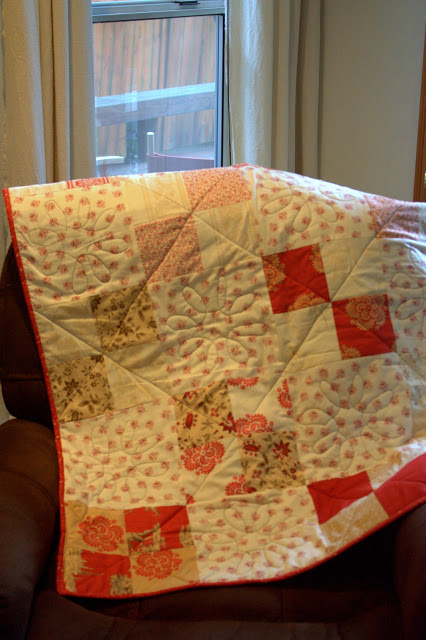
I did get to try my hand at machine quilting. I made the swirly patterns in the big squares, which is something I’ve never done before.
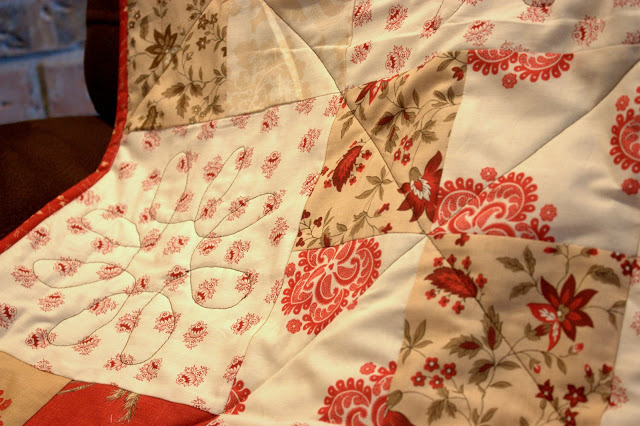
I made two of these quilts and put them over the chairs in my family room. They add a little color and I’m happy about that. If you’re working on a quilt of your own, I’d love to see it. You can email me a picture at homeiswheremystorybegins@gmail.com.


