What are you all about?
Lately, on Instagram, I’ve seen people saying things like, “If you’re all
Lately, on Instagram, I’ve seen people saying things like, “If you’re all
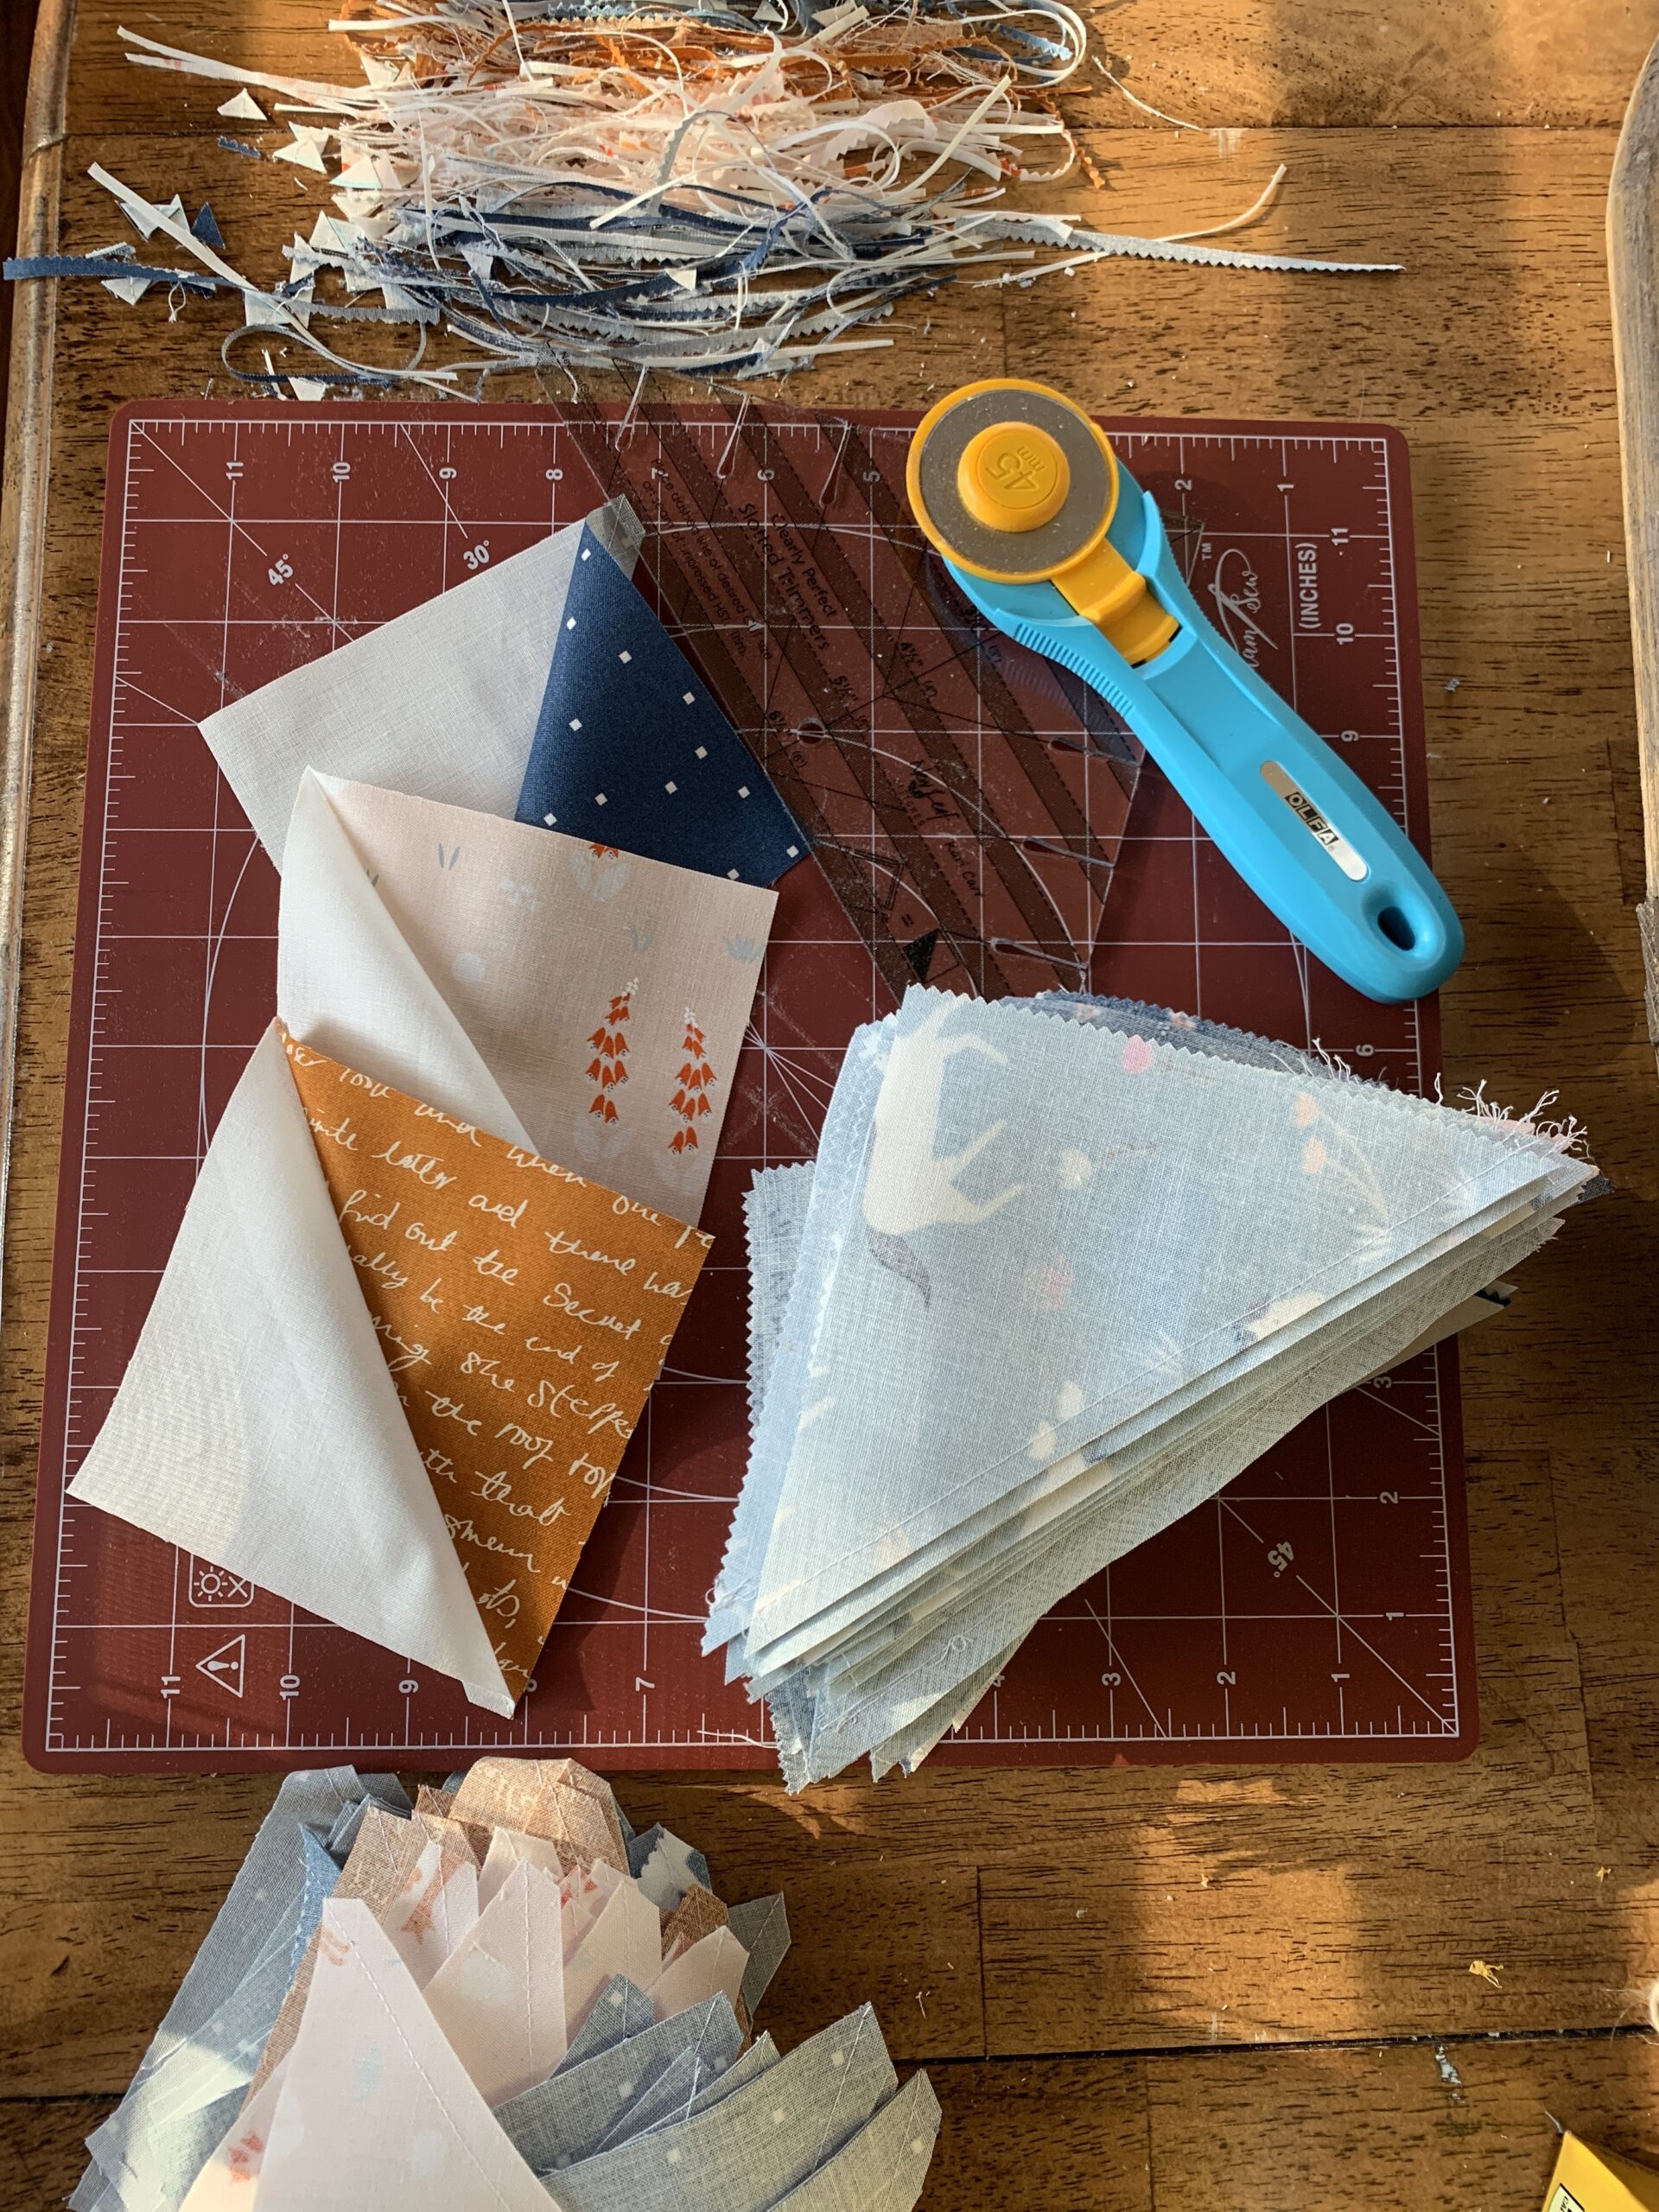
Half Square Triangles and the Clearly Perfect Ruler
I’ve decided I just need more hours in the day. I know
I’ve been listening to the Quilter on Fire podcast recently and I
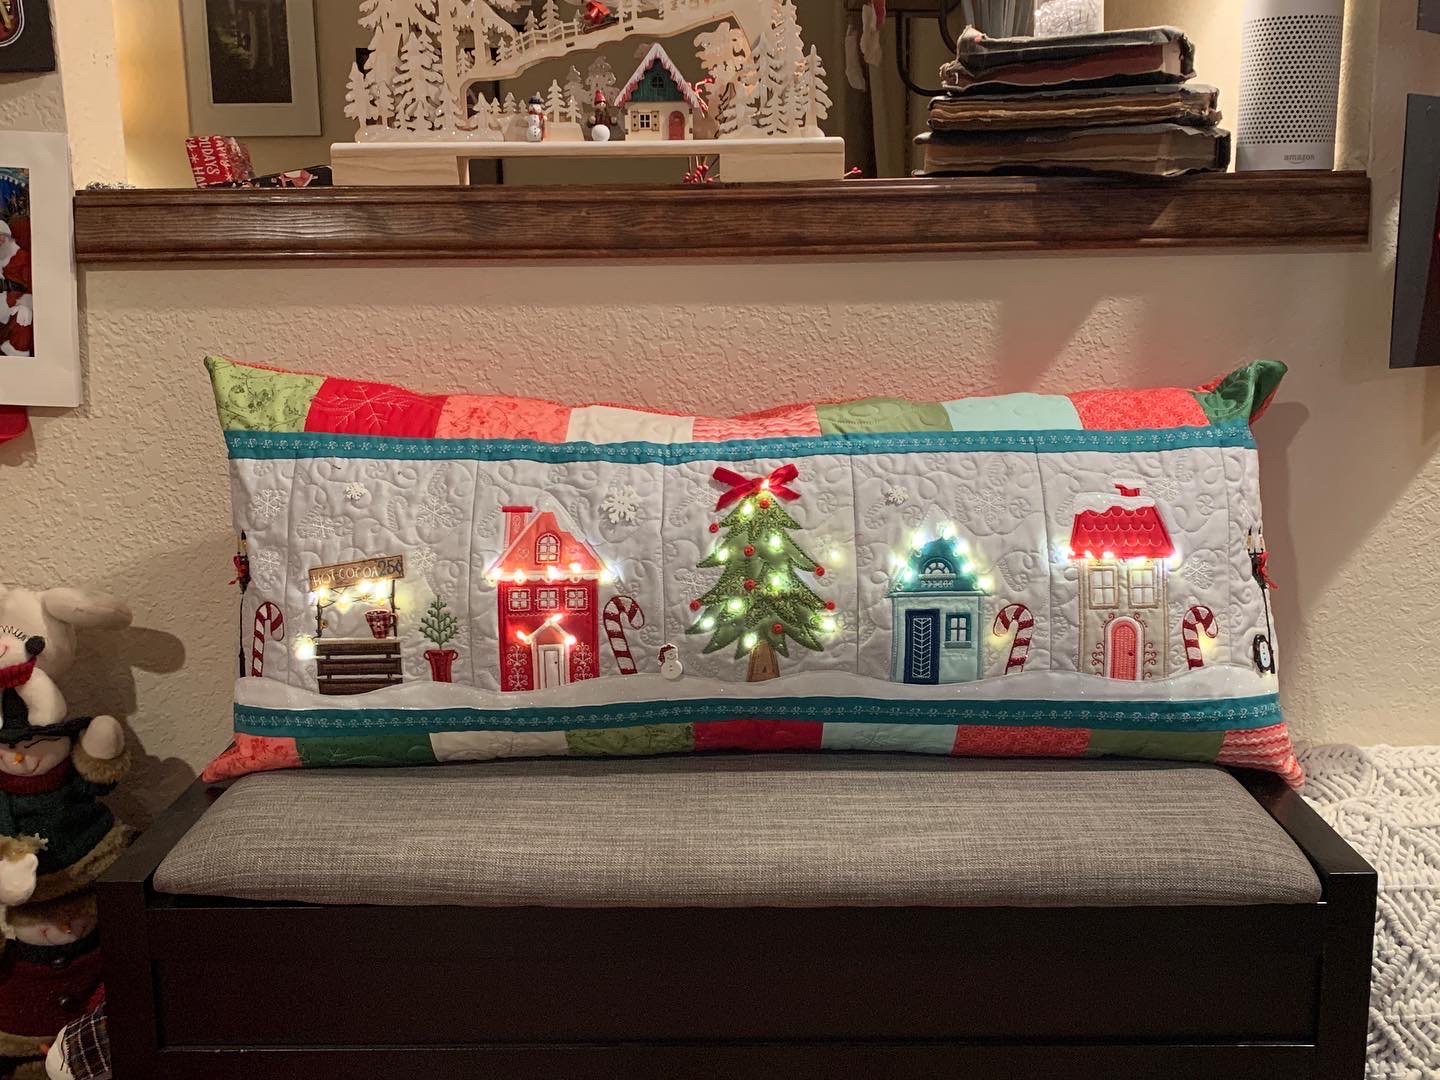
About a year ago I started really getting into machine embroidery. I
I can remember a time in my sewing life, when I walked
I can remember a time in my sewing life, when I walked
When I got the urge to start this quilt, the fabric had

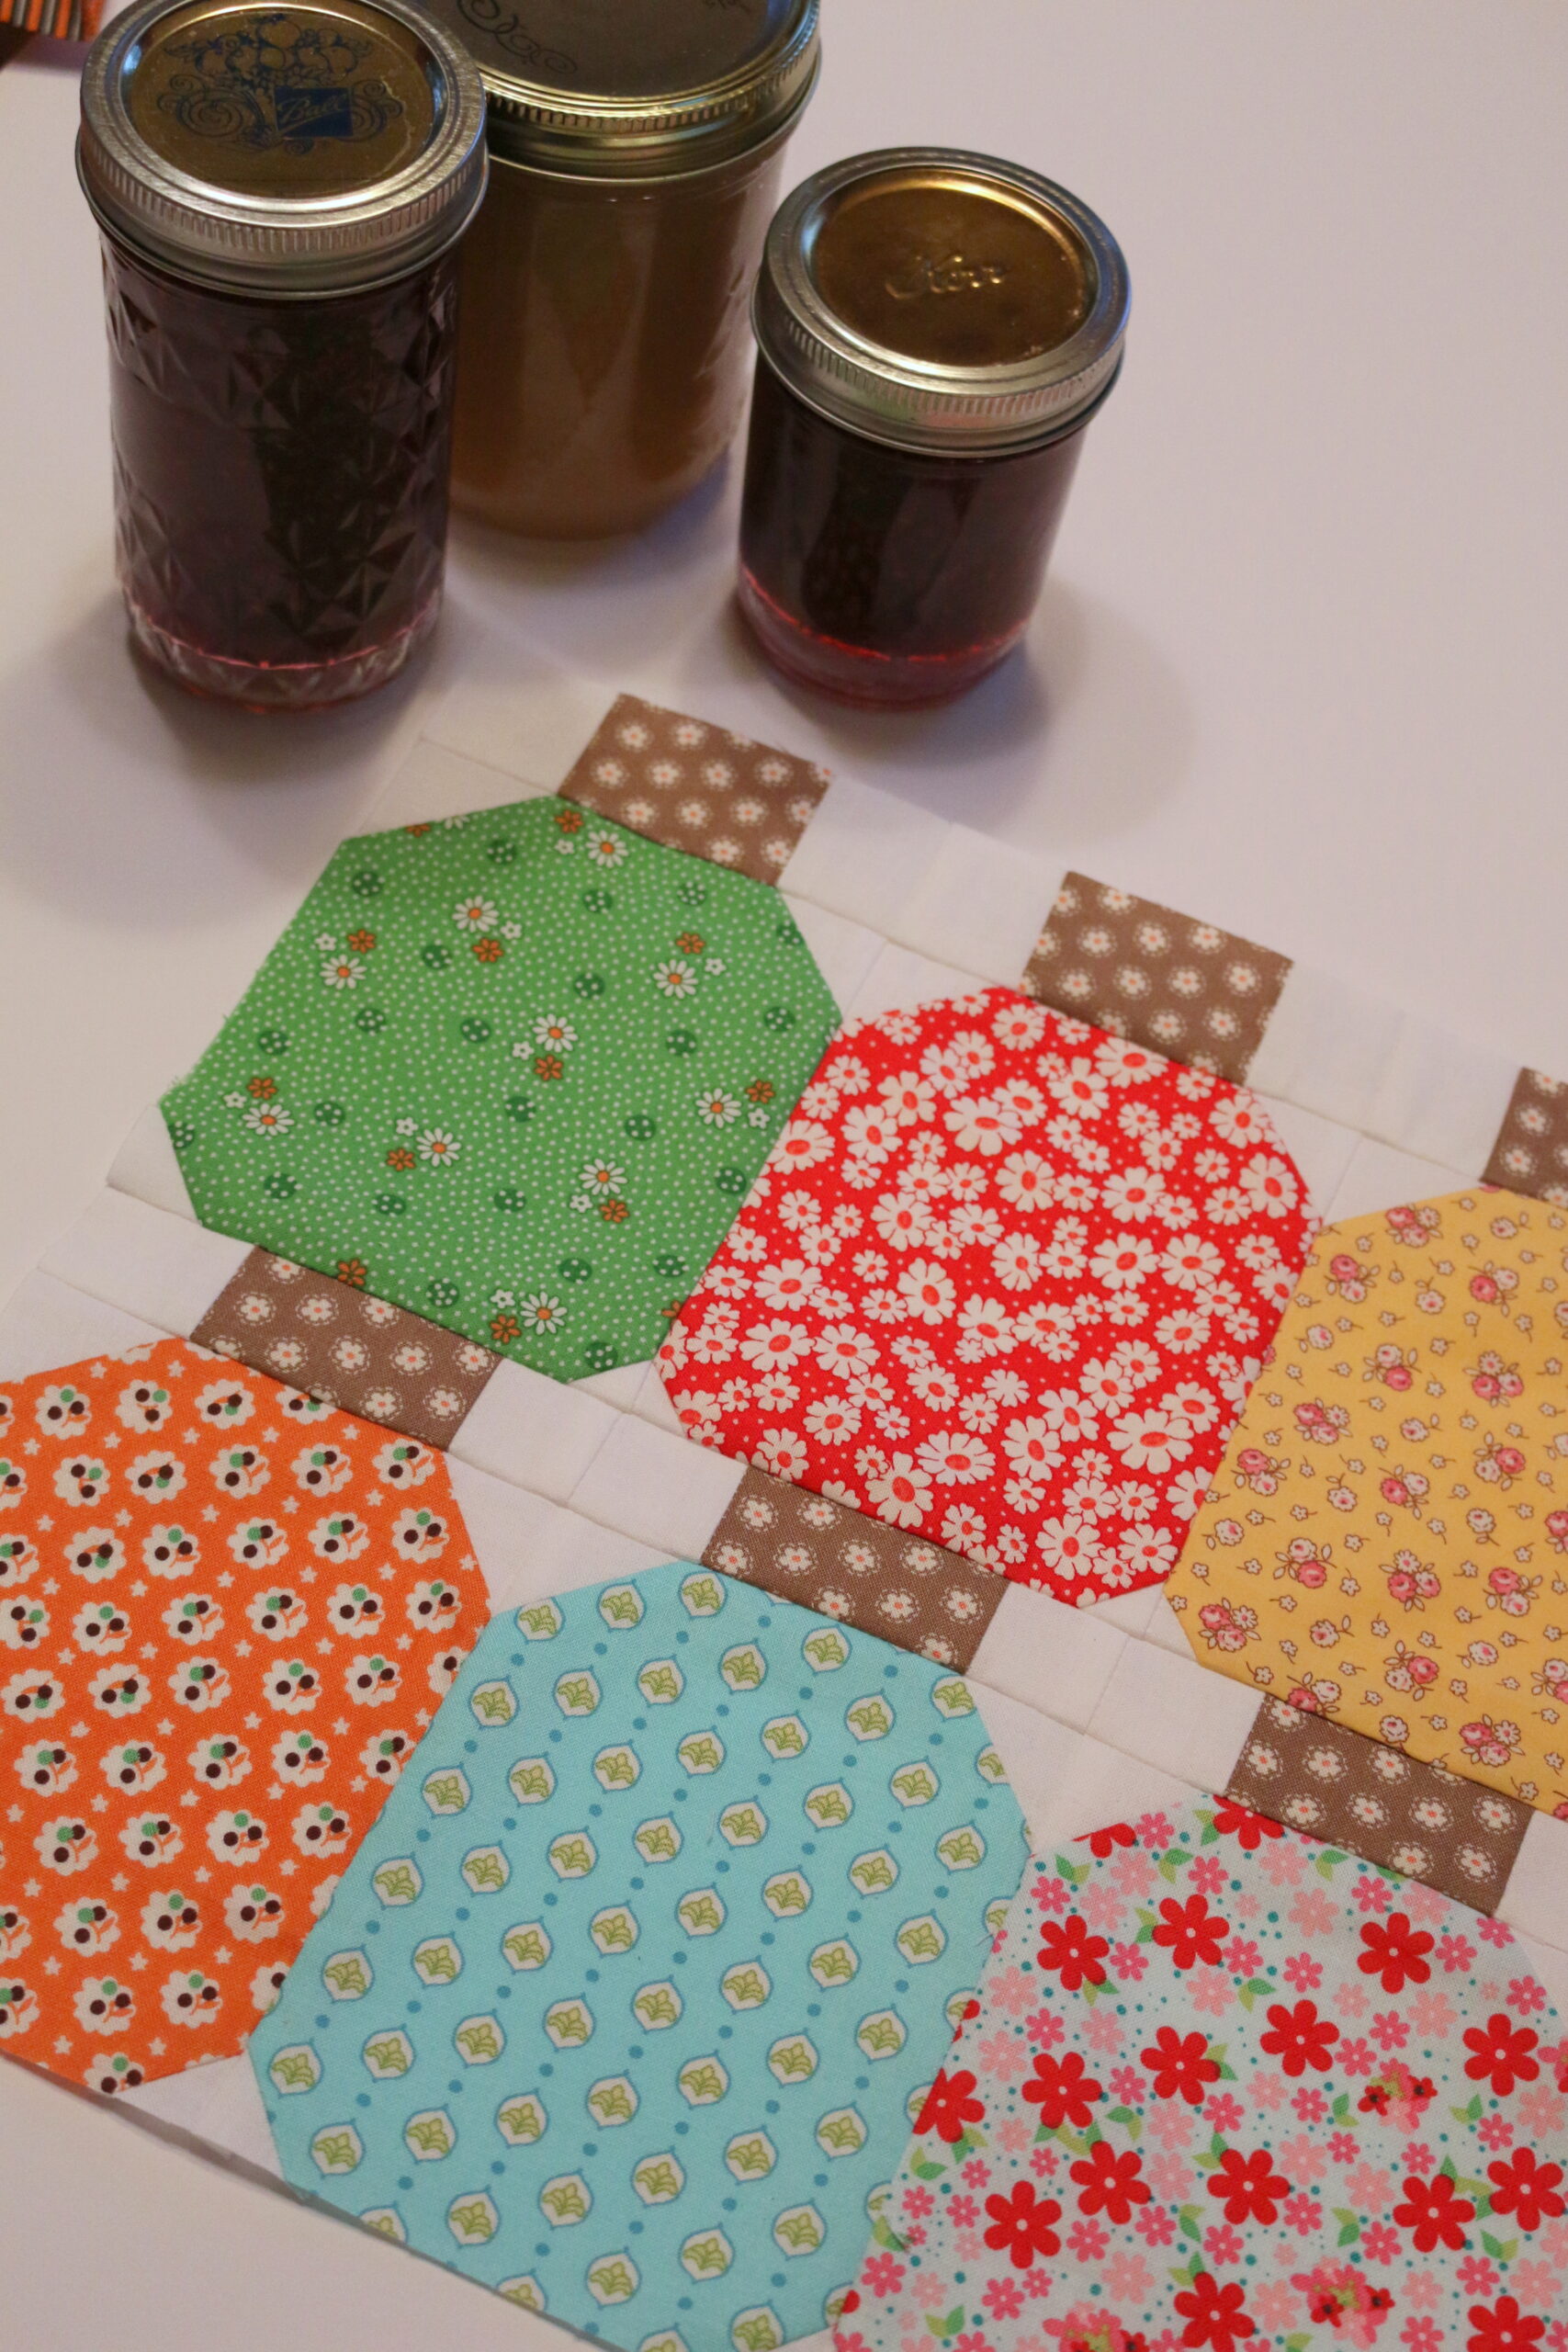
My Farm Girl Vintage quilt project is just in the beginning days,
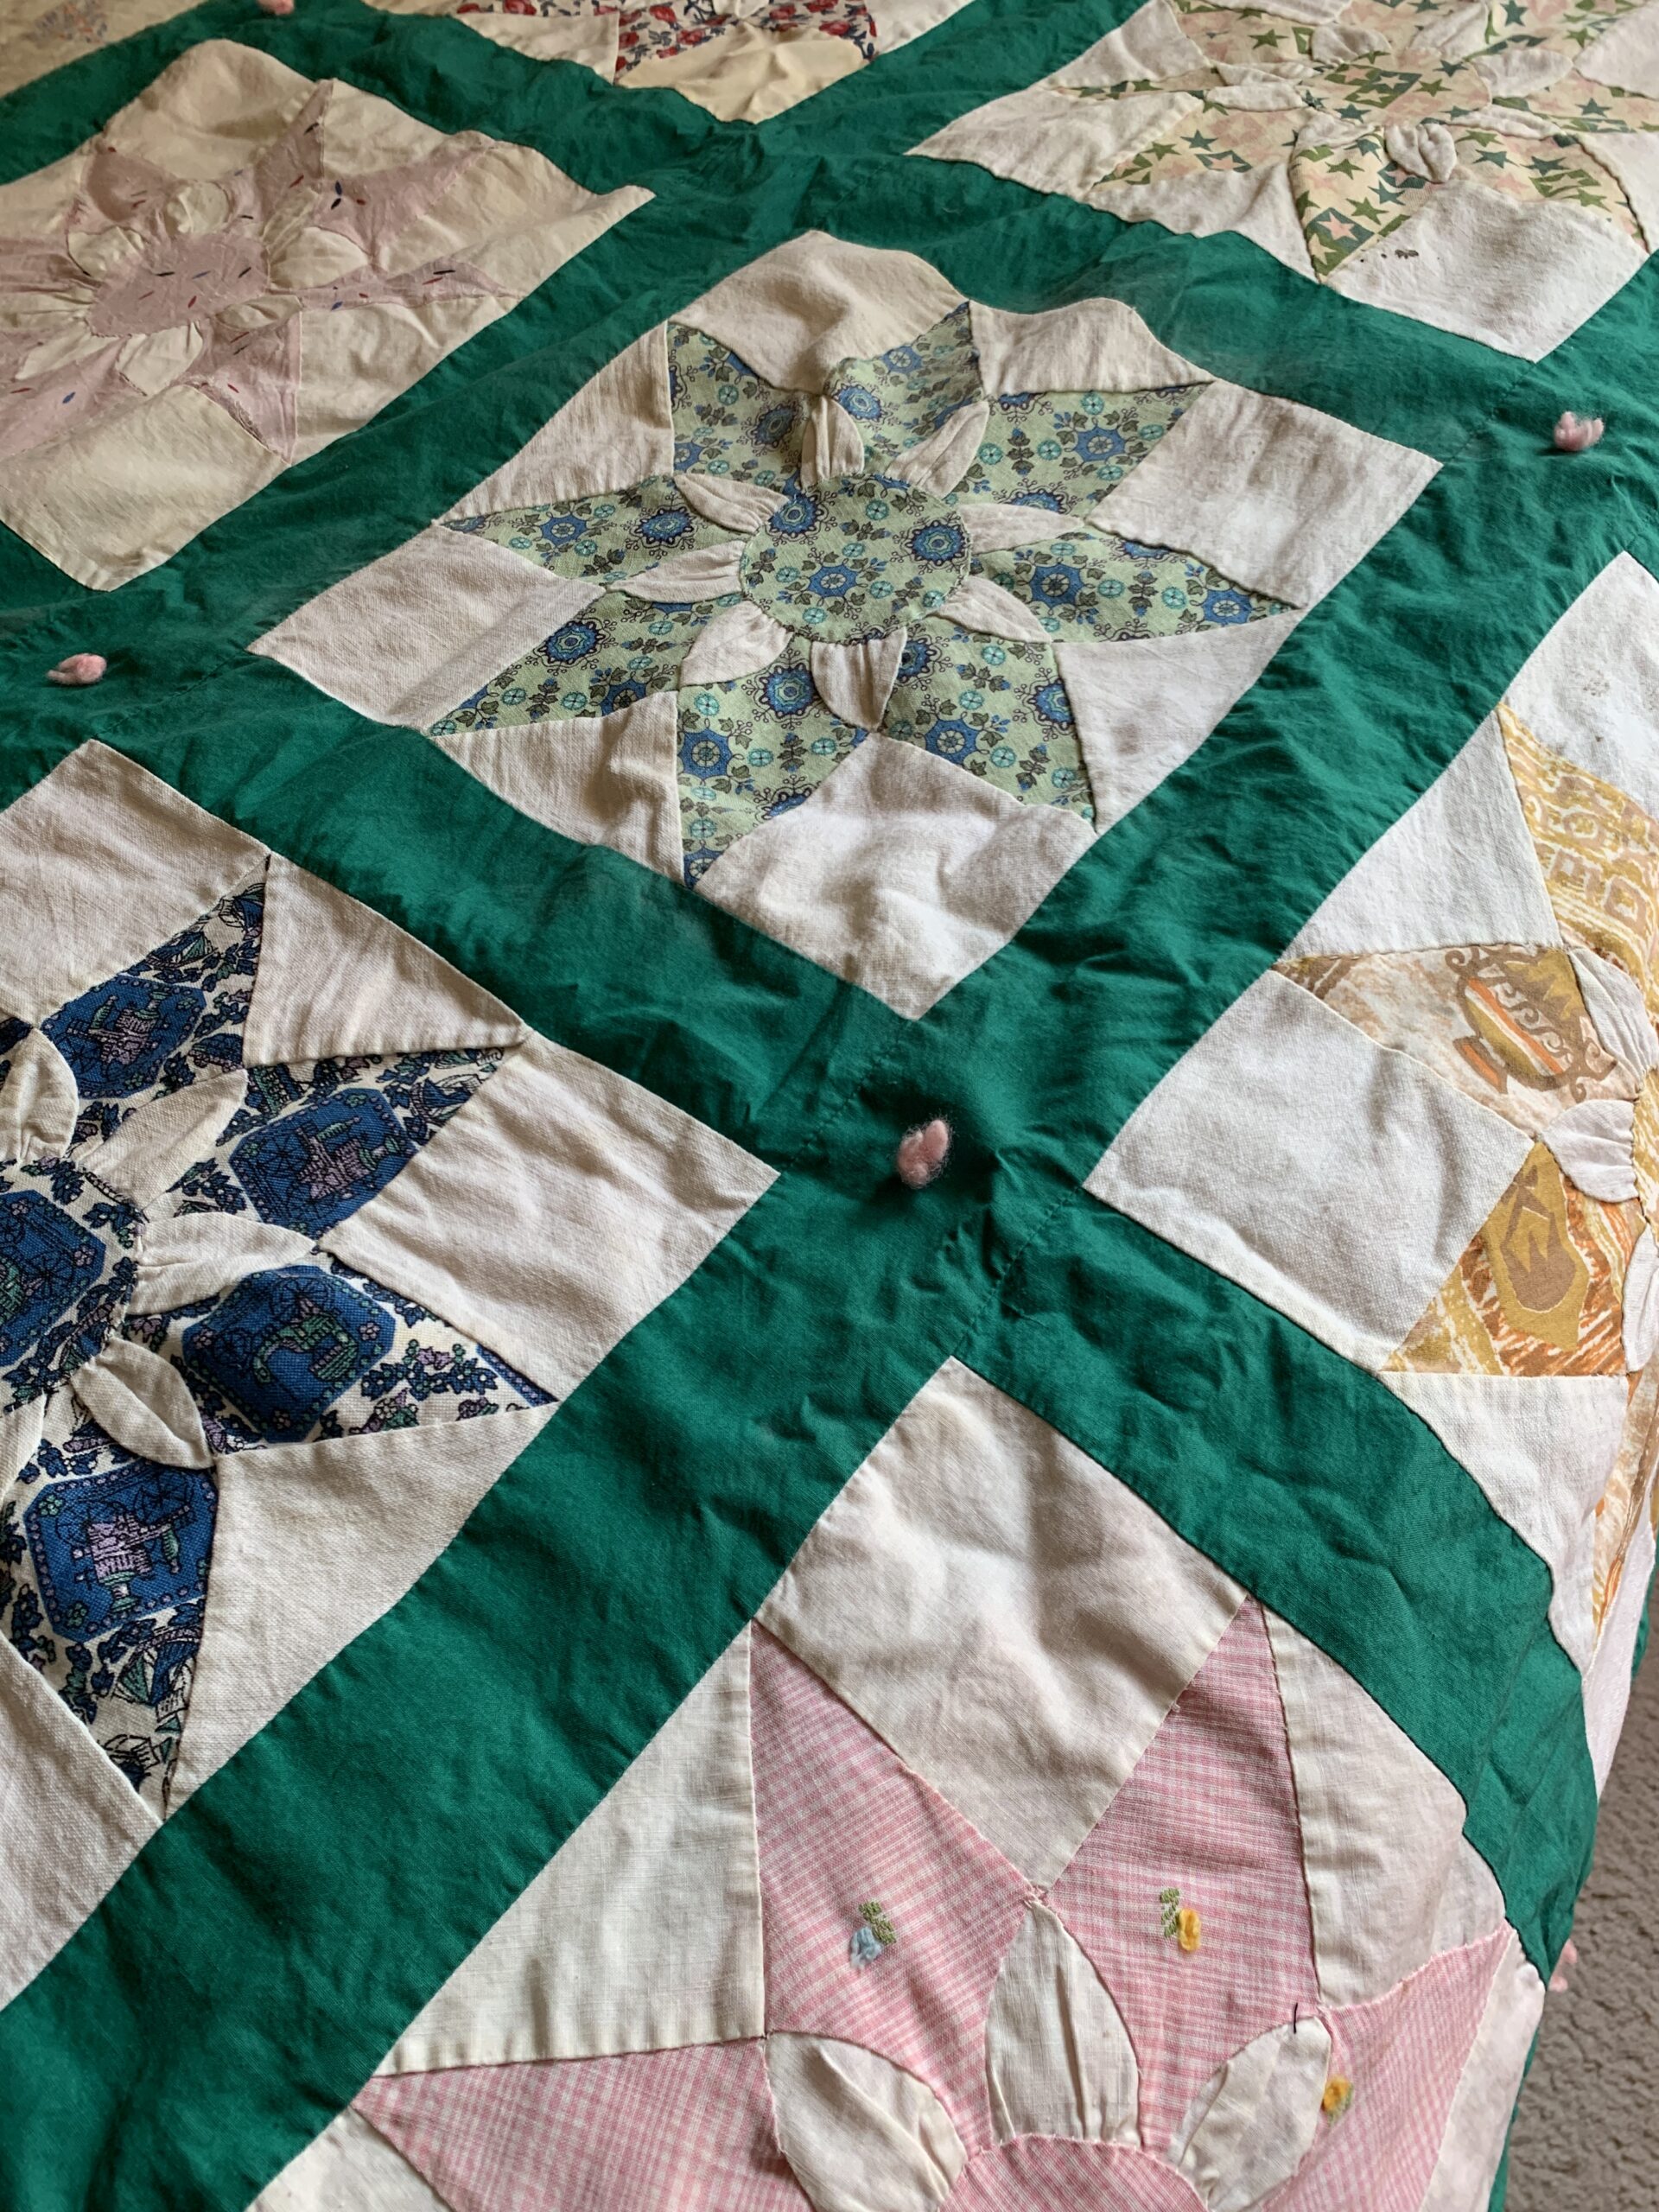
The other day I ran across a photo on Instagram of a