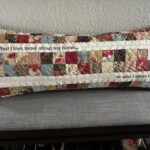


Why? Because Home Is Where My Story Begins – It’s All About Home and Family
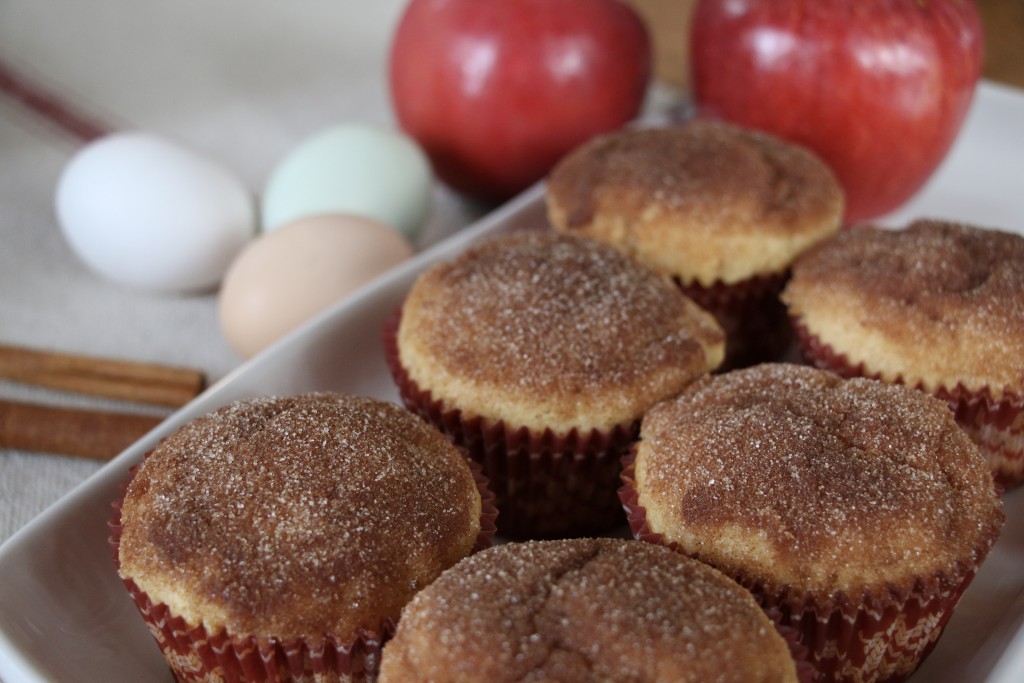
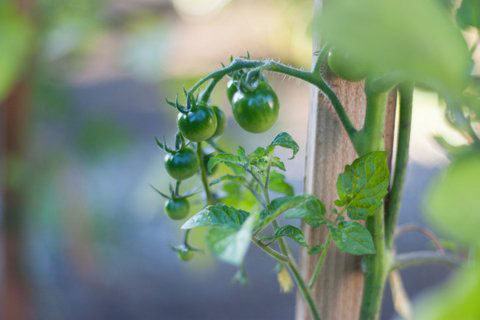
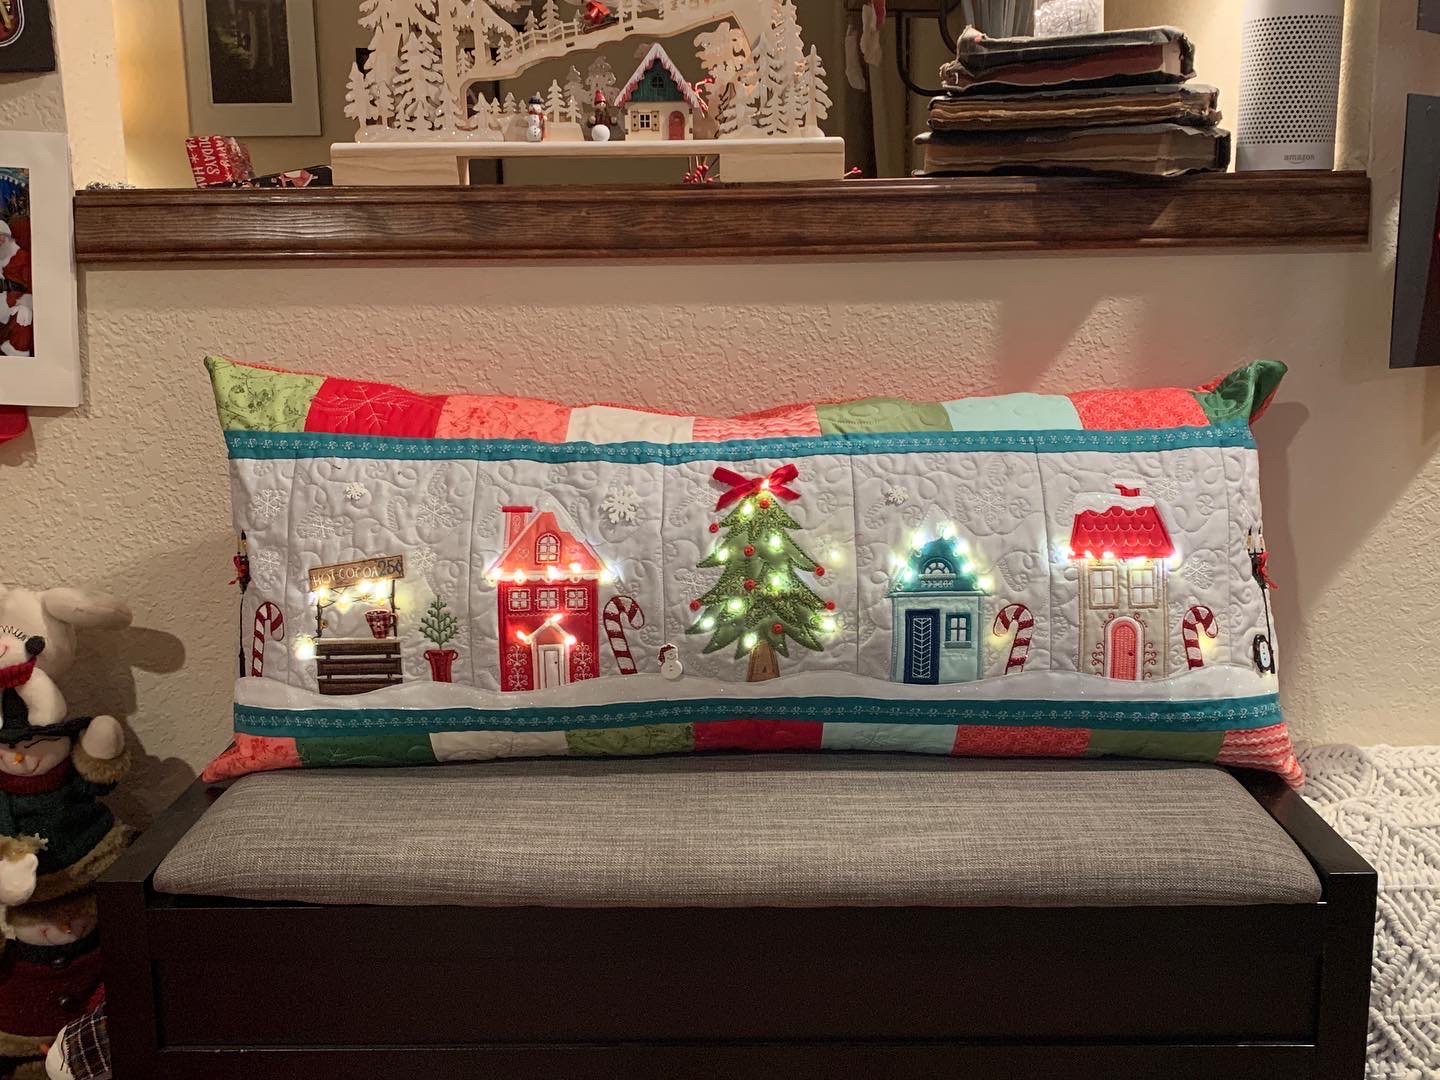
Waaaayyy back, when I first started my blog, it needed a name. My favorite blogs to read were all about home life. They had posts about cooking, baking, decorating, gardening,