What are you all about?
Lately, on Instagram, I’ve seen people saying things like, “If you’re all about slow living, making food from scratch, and stopping the hustle, then we


Lately, on Instagram, I’ve seen people saying things like, “If you’re all about slow living, making food from scratch, and stopping the hustle, then we
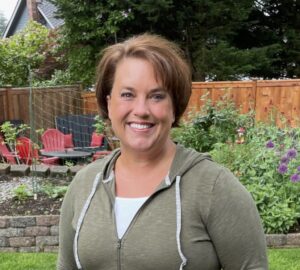
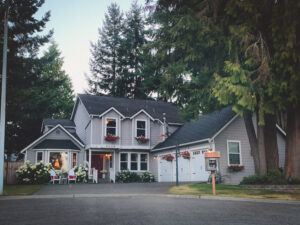
Hello Friends! I’m Becca. I’m a wife, mom, and kindergarten teacher. I’m passionate about all things home and family. I love being home with my
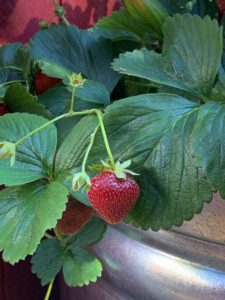
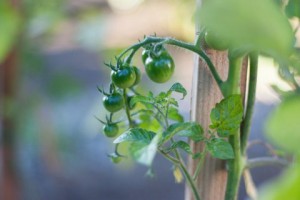
The Pacific Northwest garden can be a challenge sometimes. We tend to get a lot of rain in the spring and early summer. Hello… we

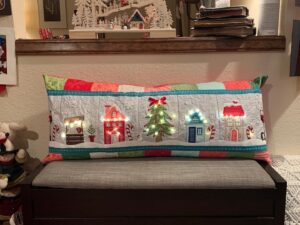
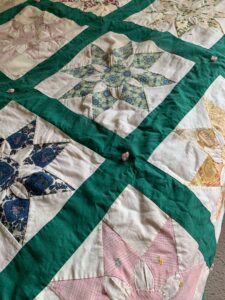
Half Square Triangles and the Clearly Perfect Ruler
I’ve decided I just need more hours in the day. I know everyone probably feels like that, but I need time to spend on my hobbies. Crafty
I’ve been listening to the Quilter on Fire podcast recently and I noticed that the host always asks the person she is interviewing what their
