Organizing the Bathroom Cupboard
Organizing under the bathroom sink is one of those jobs I’ve been
Organizing under the bathroom sink is one of those jobs I’ve been
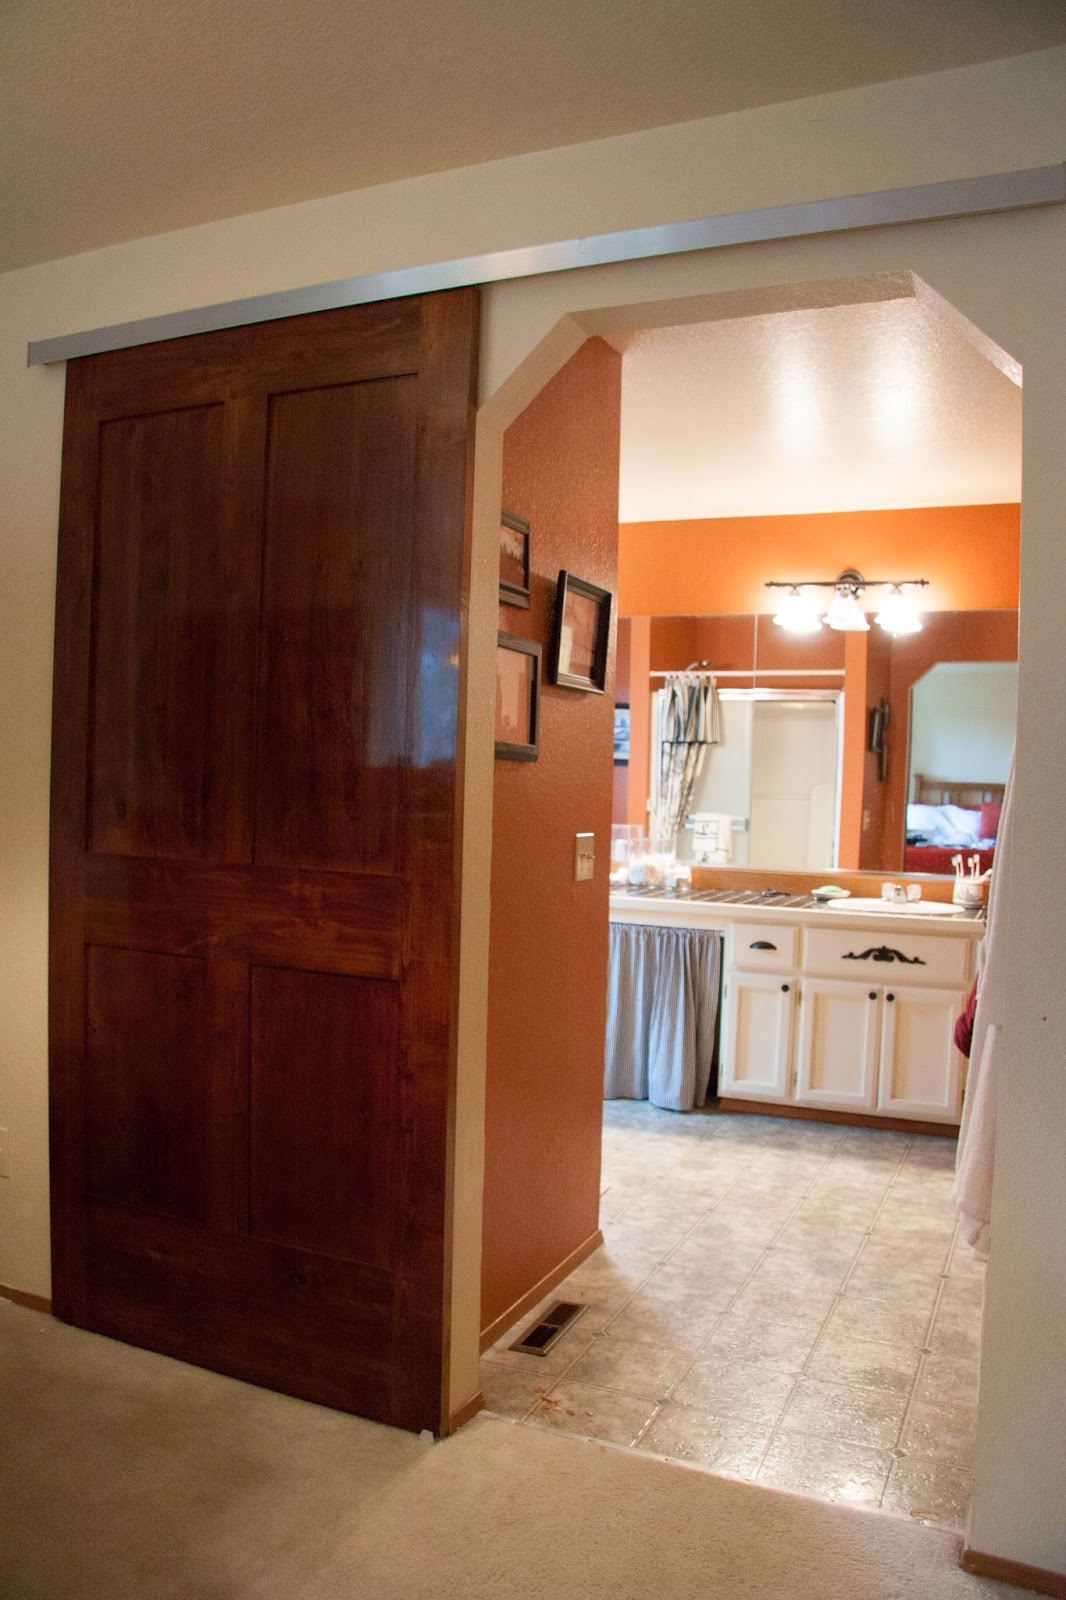
I have a door! I HAVE A DOOR! Do you hear angels
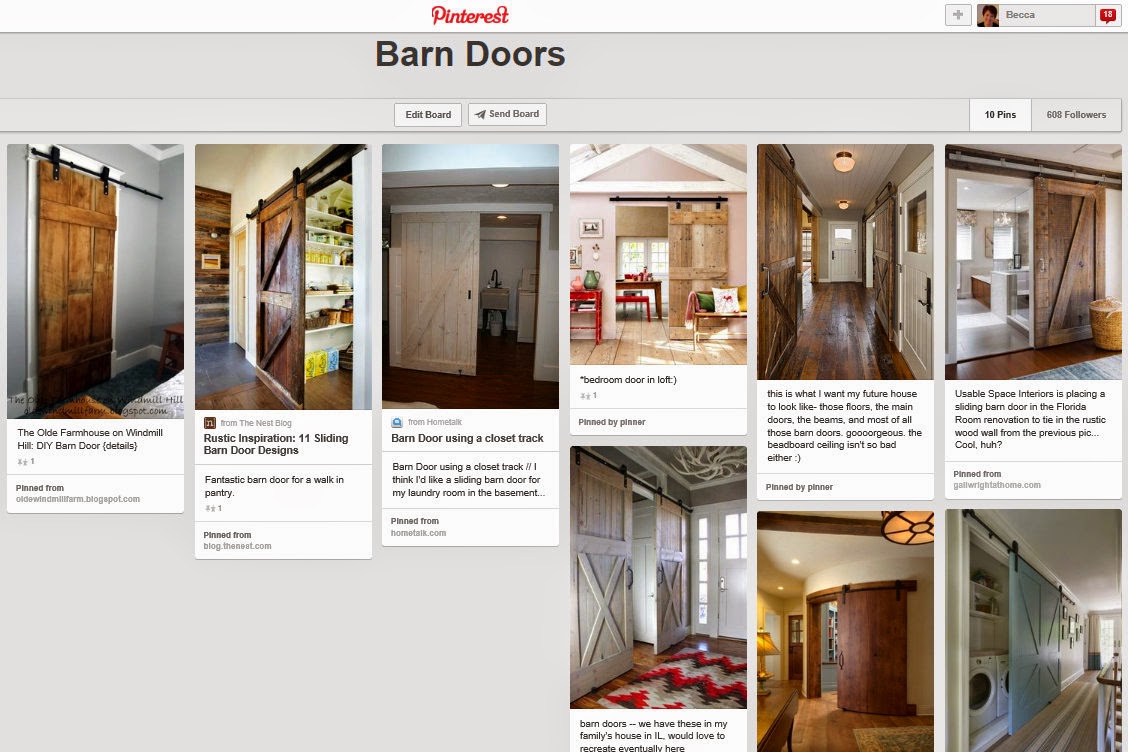
I’ve been pinning barn doors for quite a while now.

I took my dog to the dog groomer, in downtown Snohomish, the
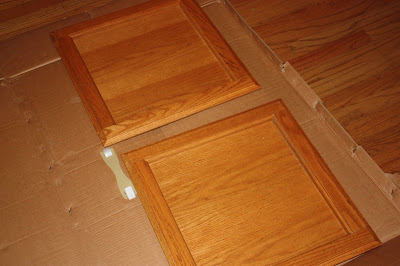
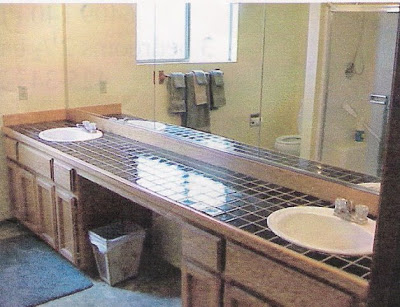
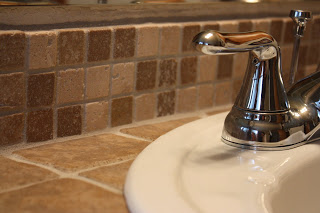
I promised a few of my bloggy friends a “how-to” on refinishing
Once again, I start by saying that I have absolutely no decorating
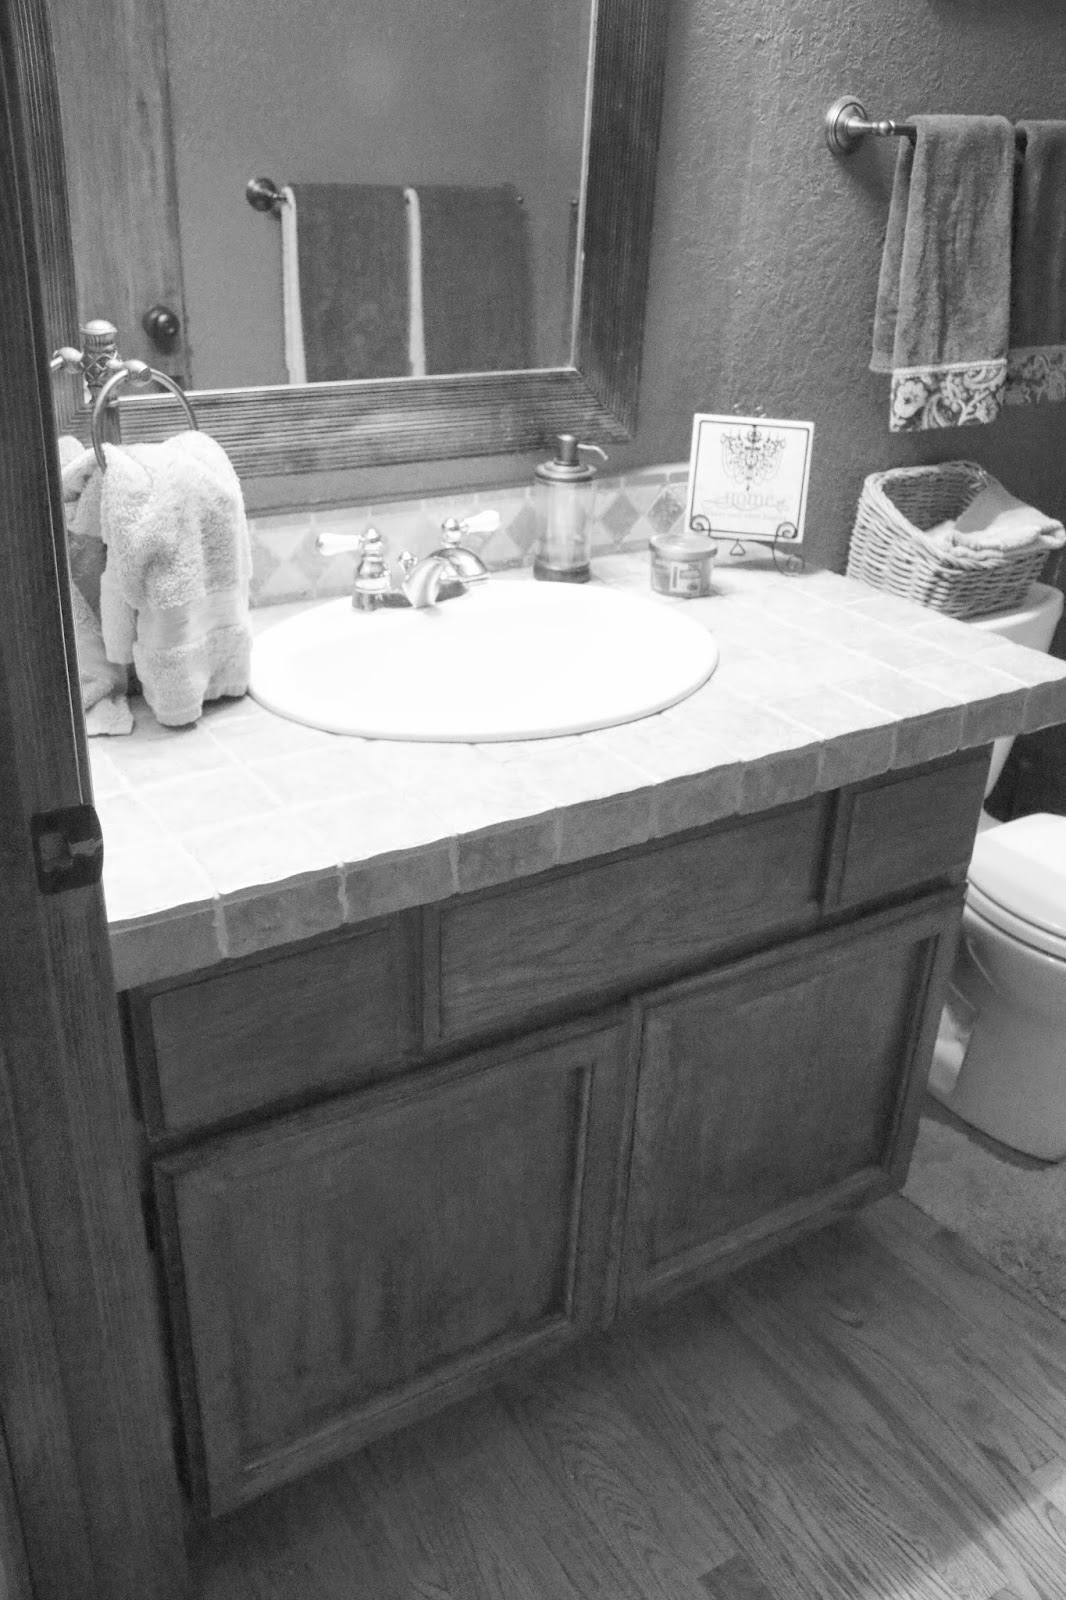
The kids are actually brushing their teeth in their own bathroom again!