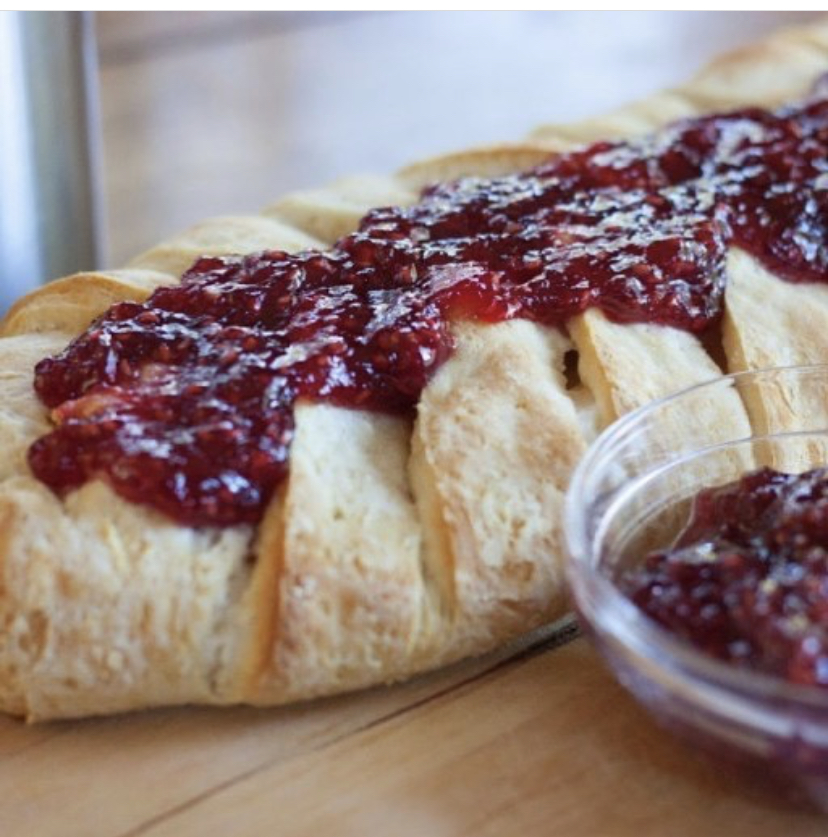
Jam and Cream Cheese Braid
This is one of my all-time favorite recipes to serve for brunch
This is one of my all-time favorite recipes to serve for brunch
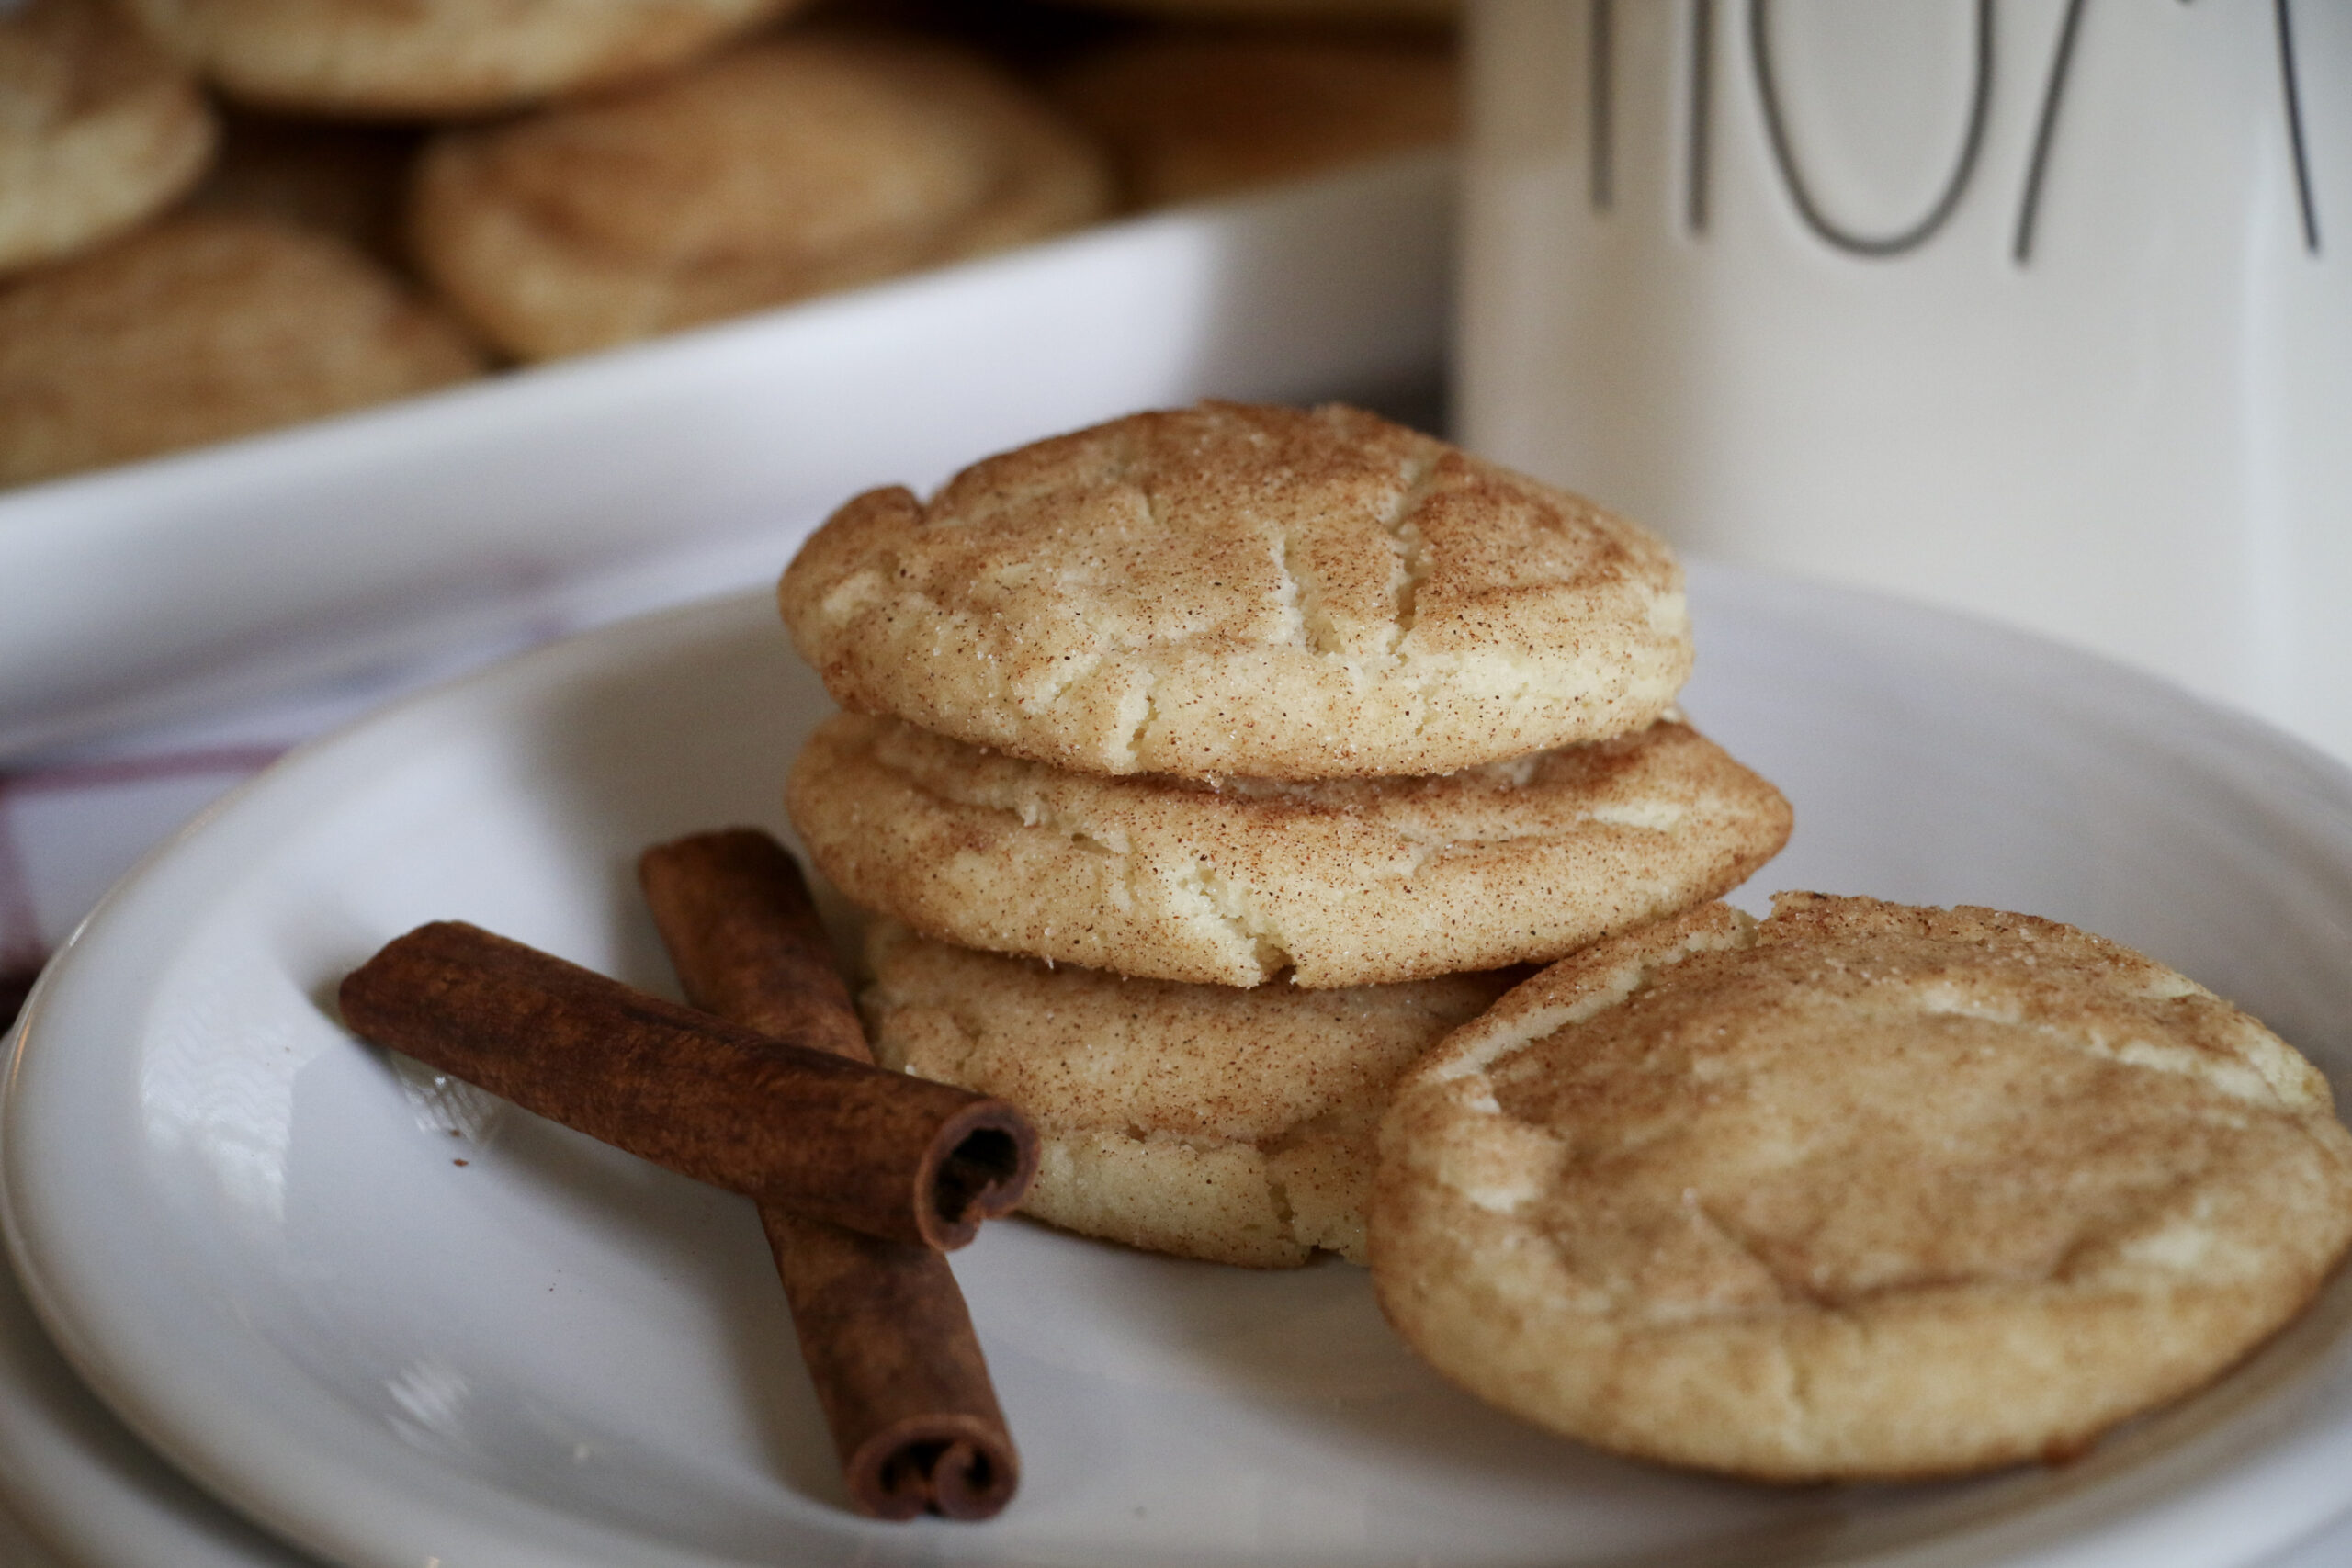
I decided that my Snickerdoodle cookie recipe needed some updated pictures today.
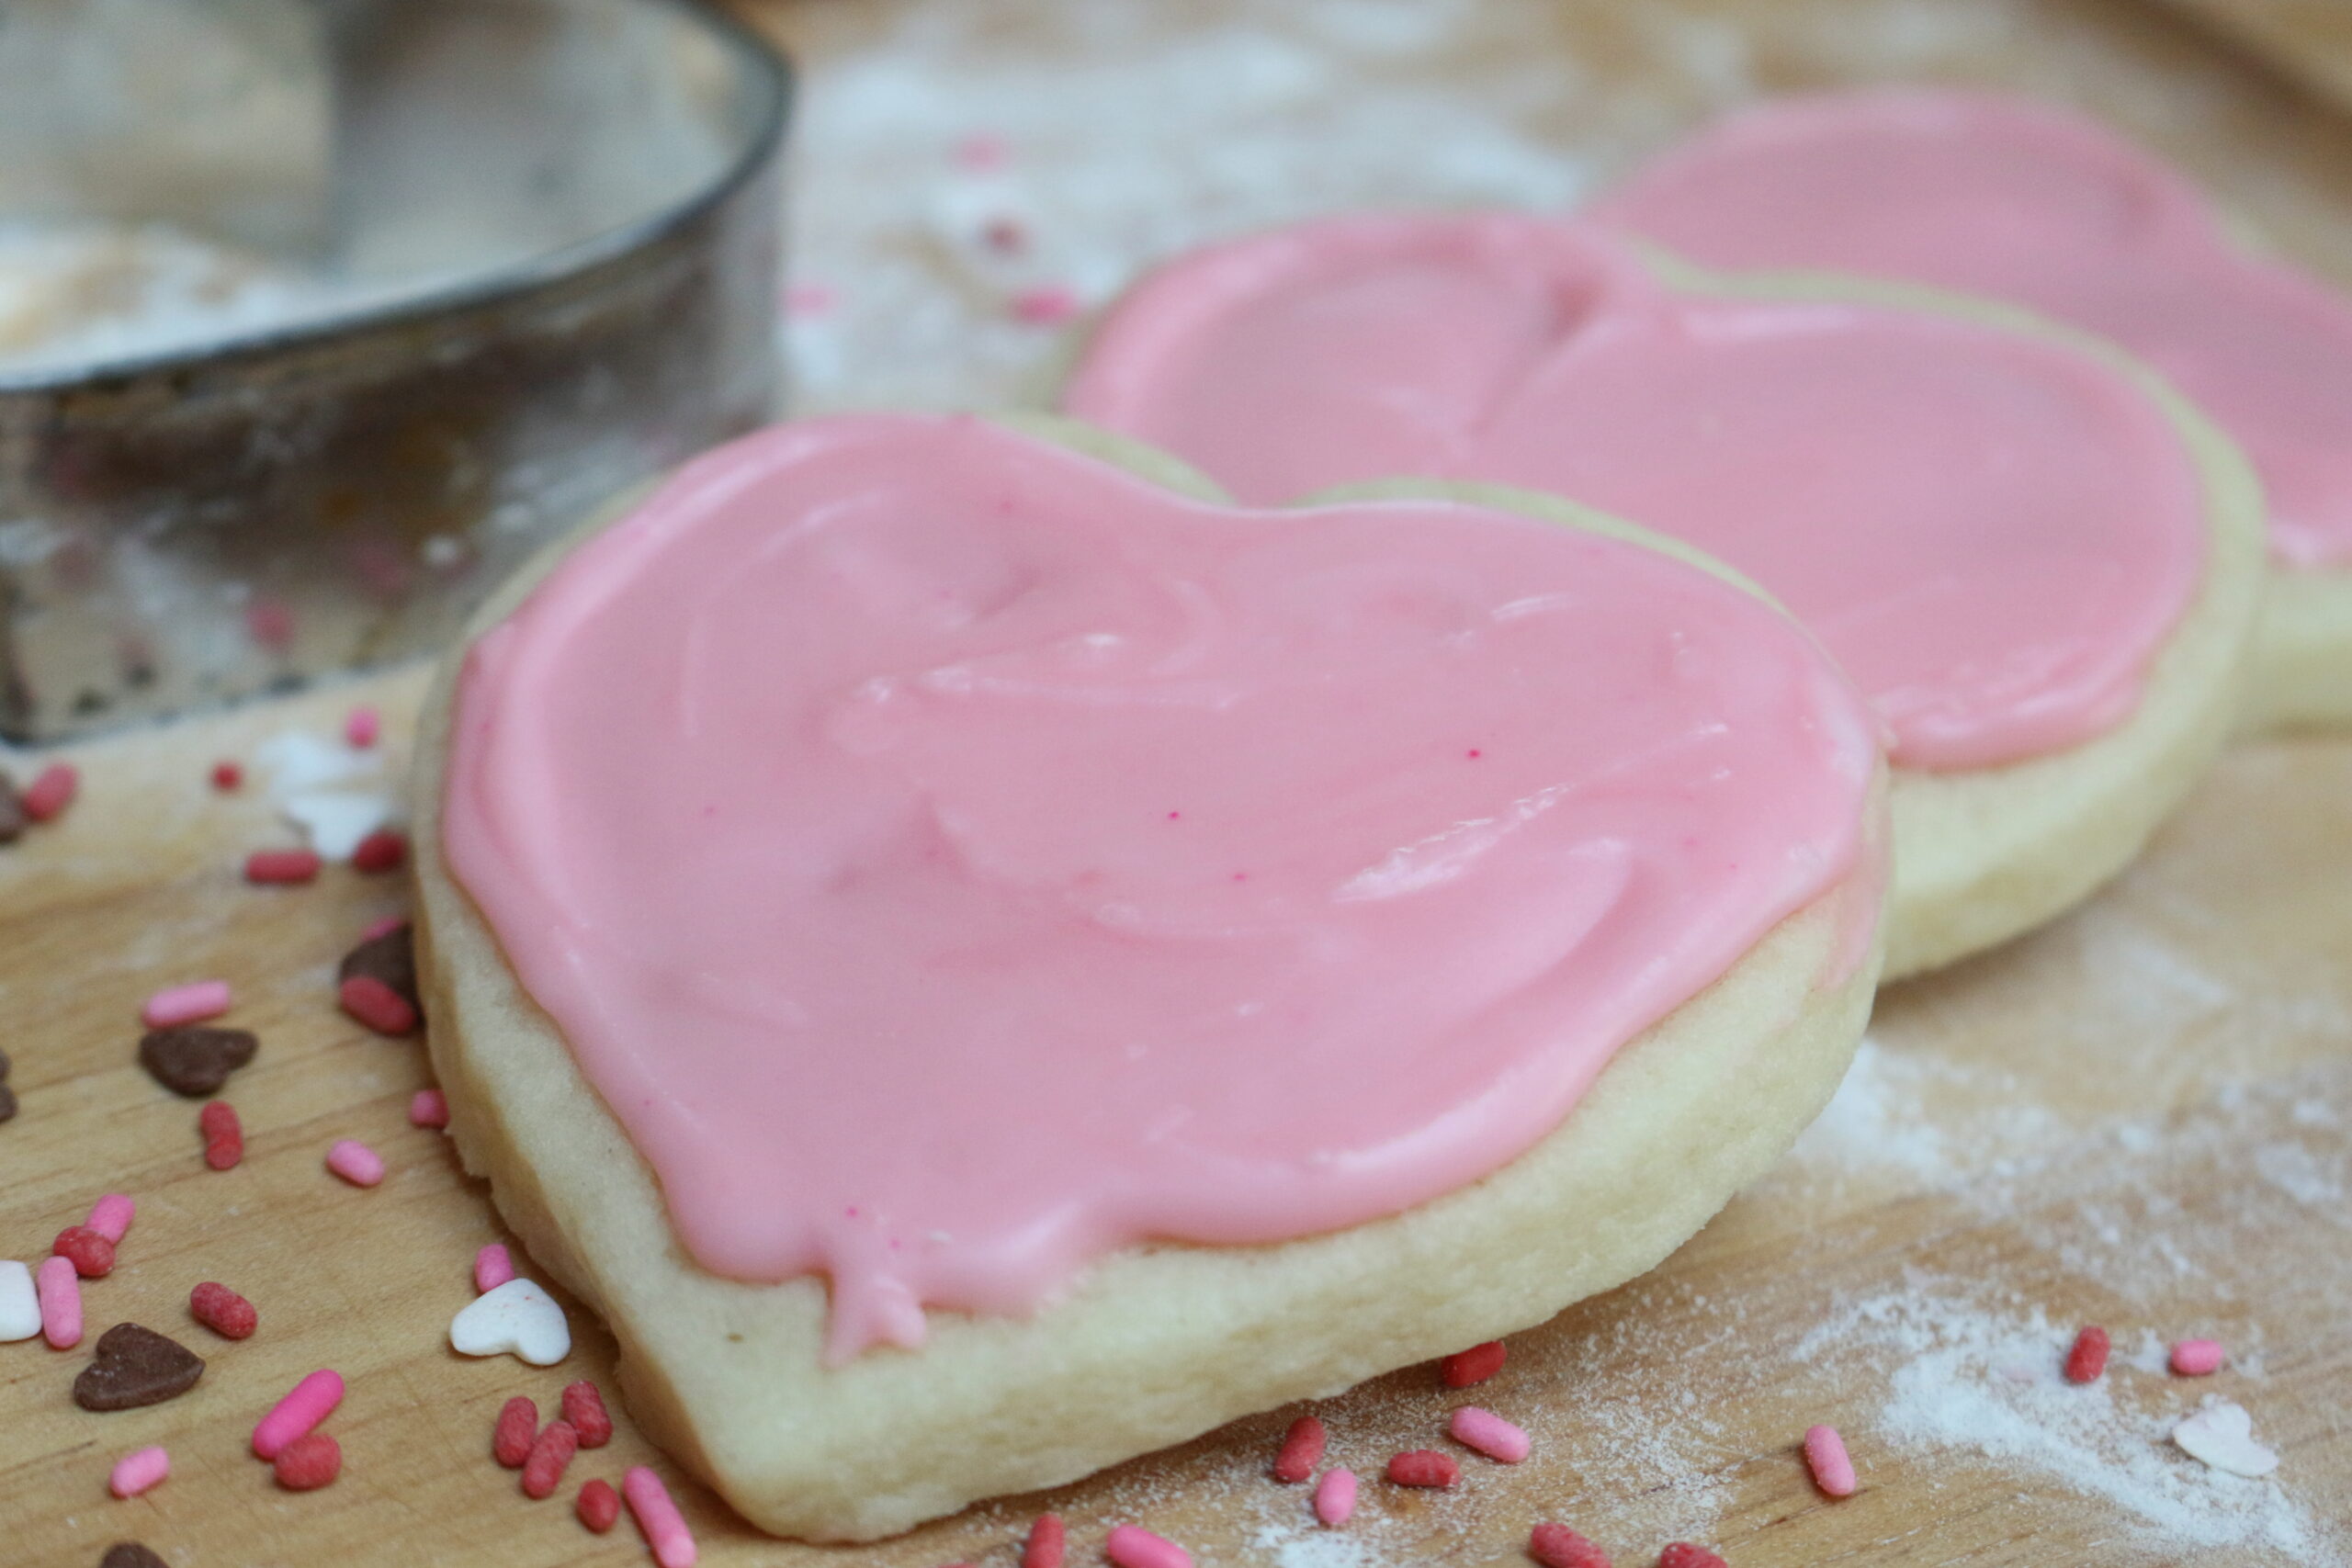
Valentine’s Day is just around the corner, so we couldn’t resist baking
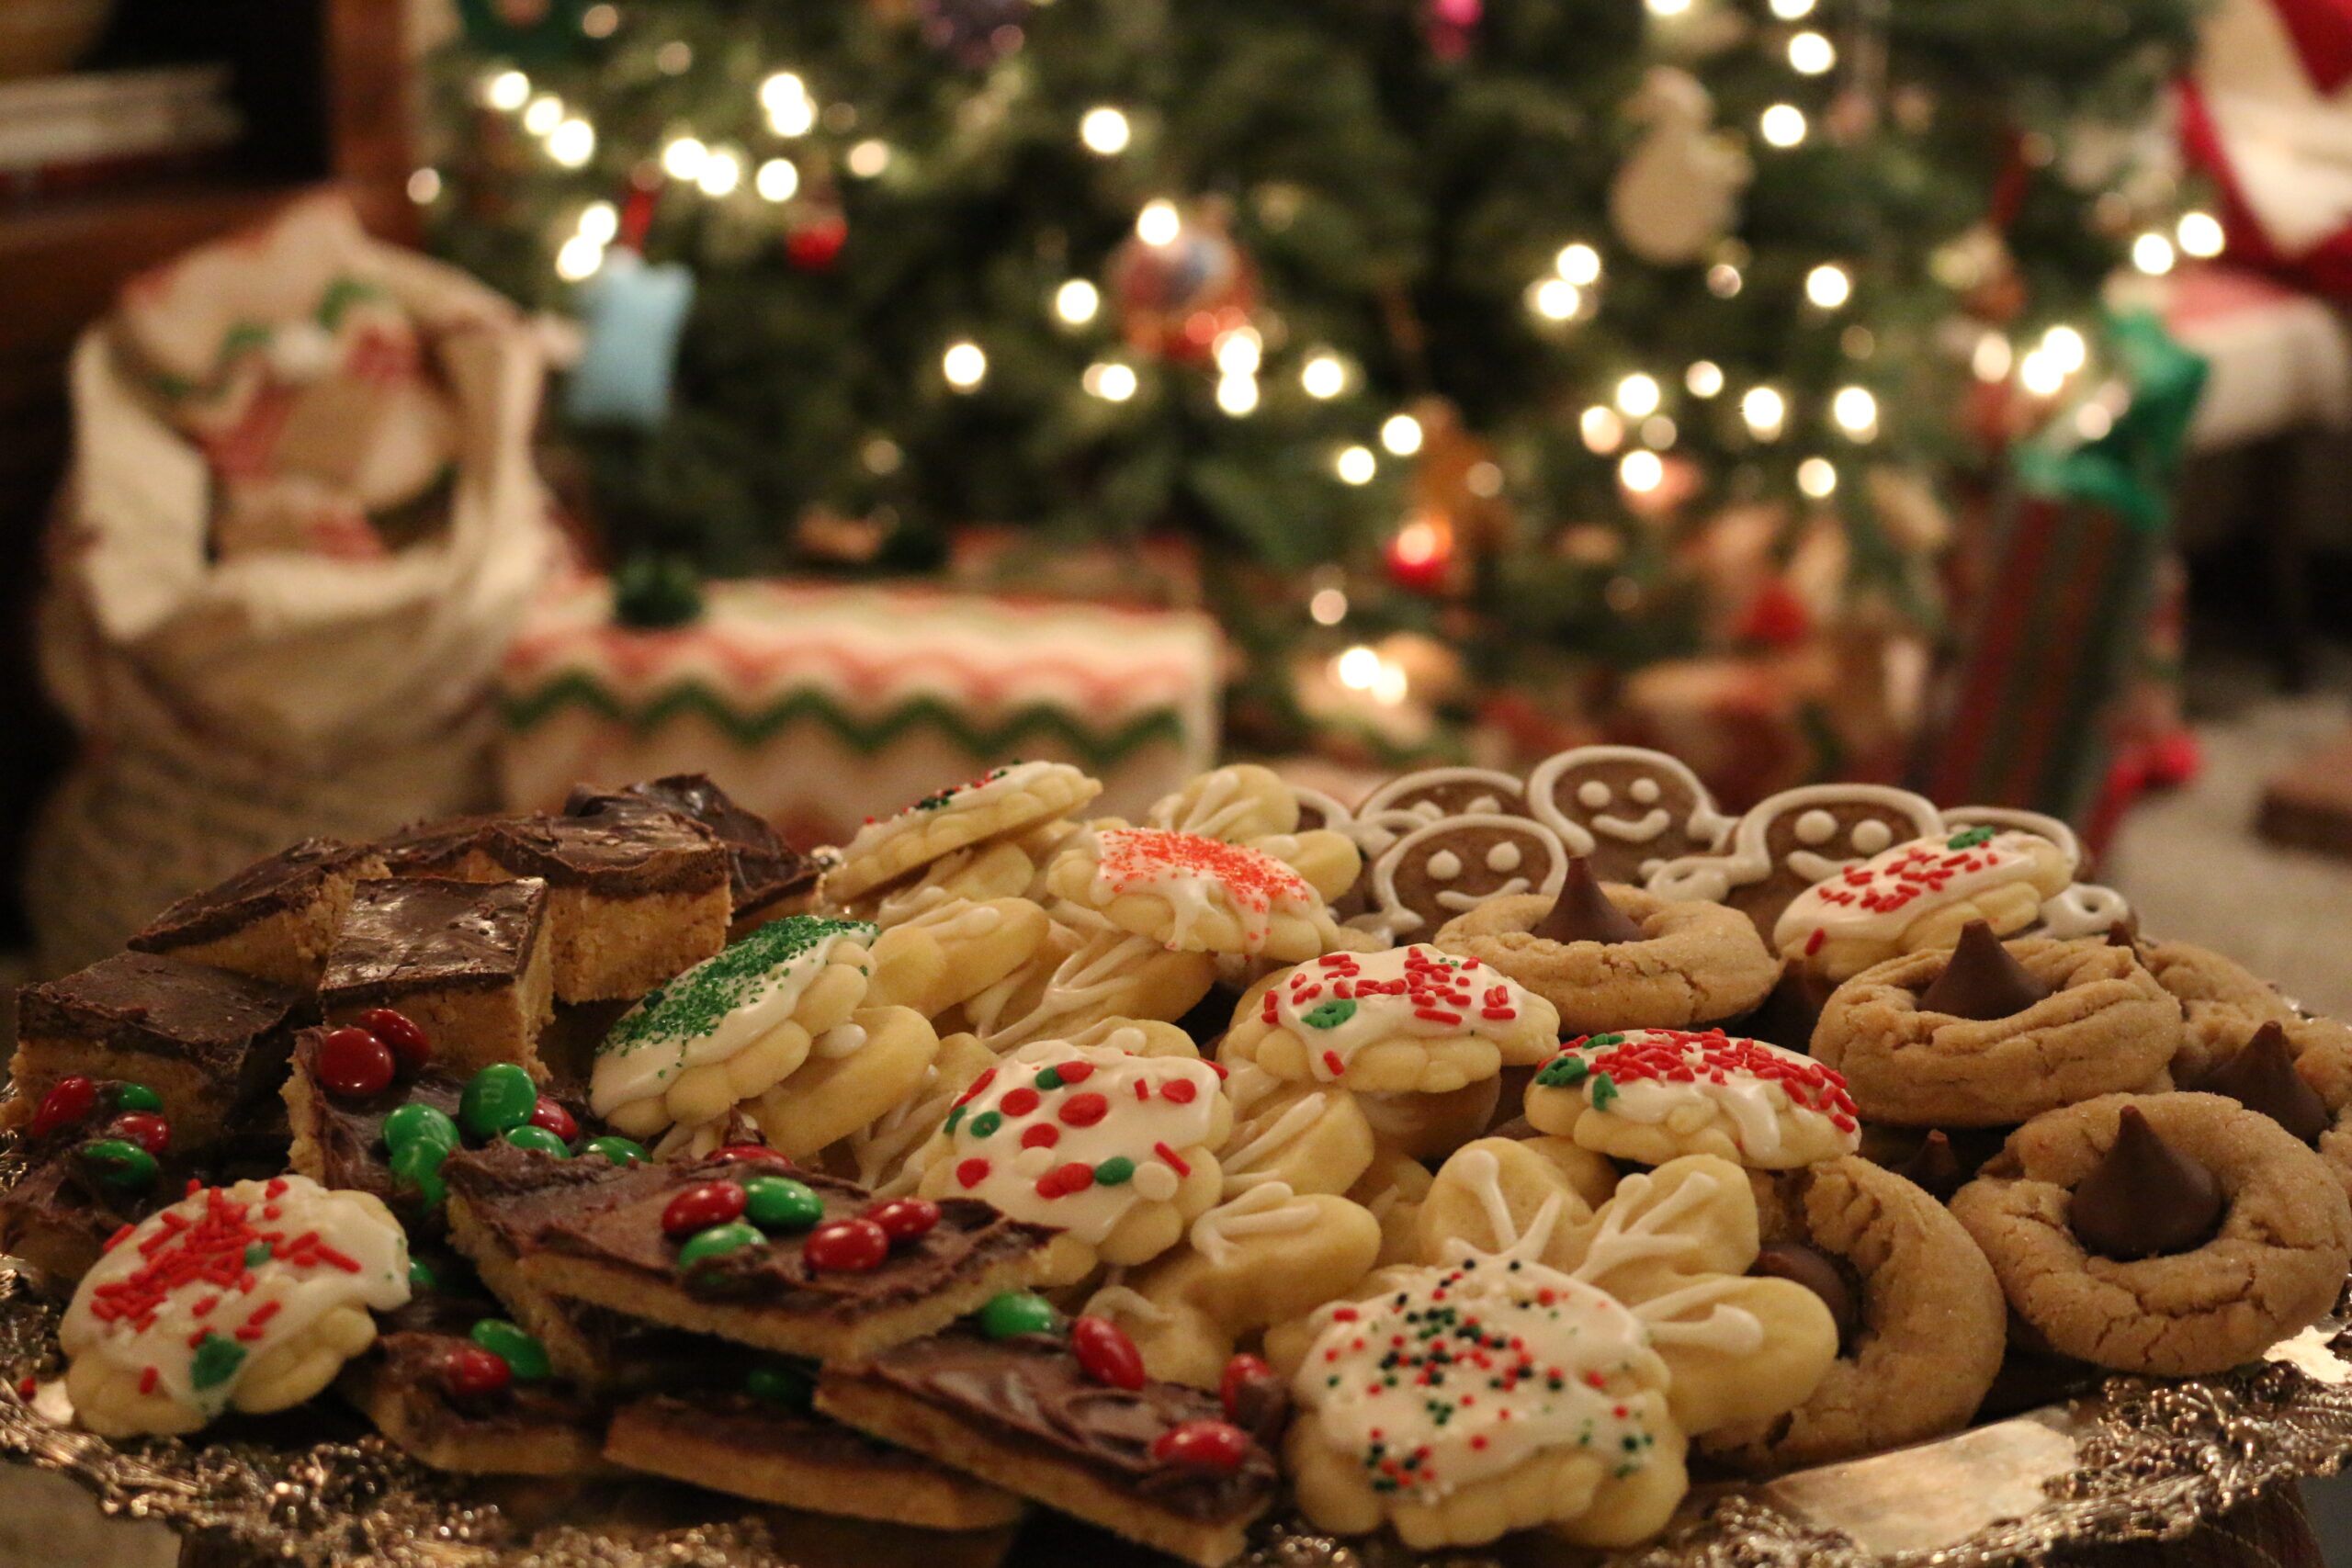
I know the holiday season is over and we’re all trying NOT
It’s my week for treats and staff room clean up at my
It’s been many years since my son was in Cub Scouts, but
My friend, Diane, has partnered up with me to be the brains
I make sugar cookies for just about every occasion. With Valentine’s Day