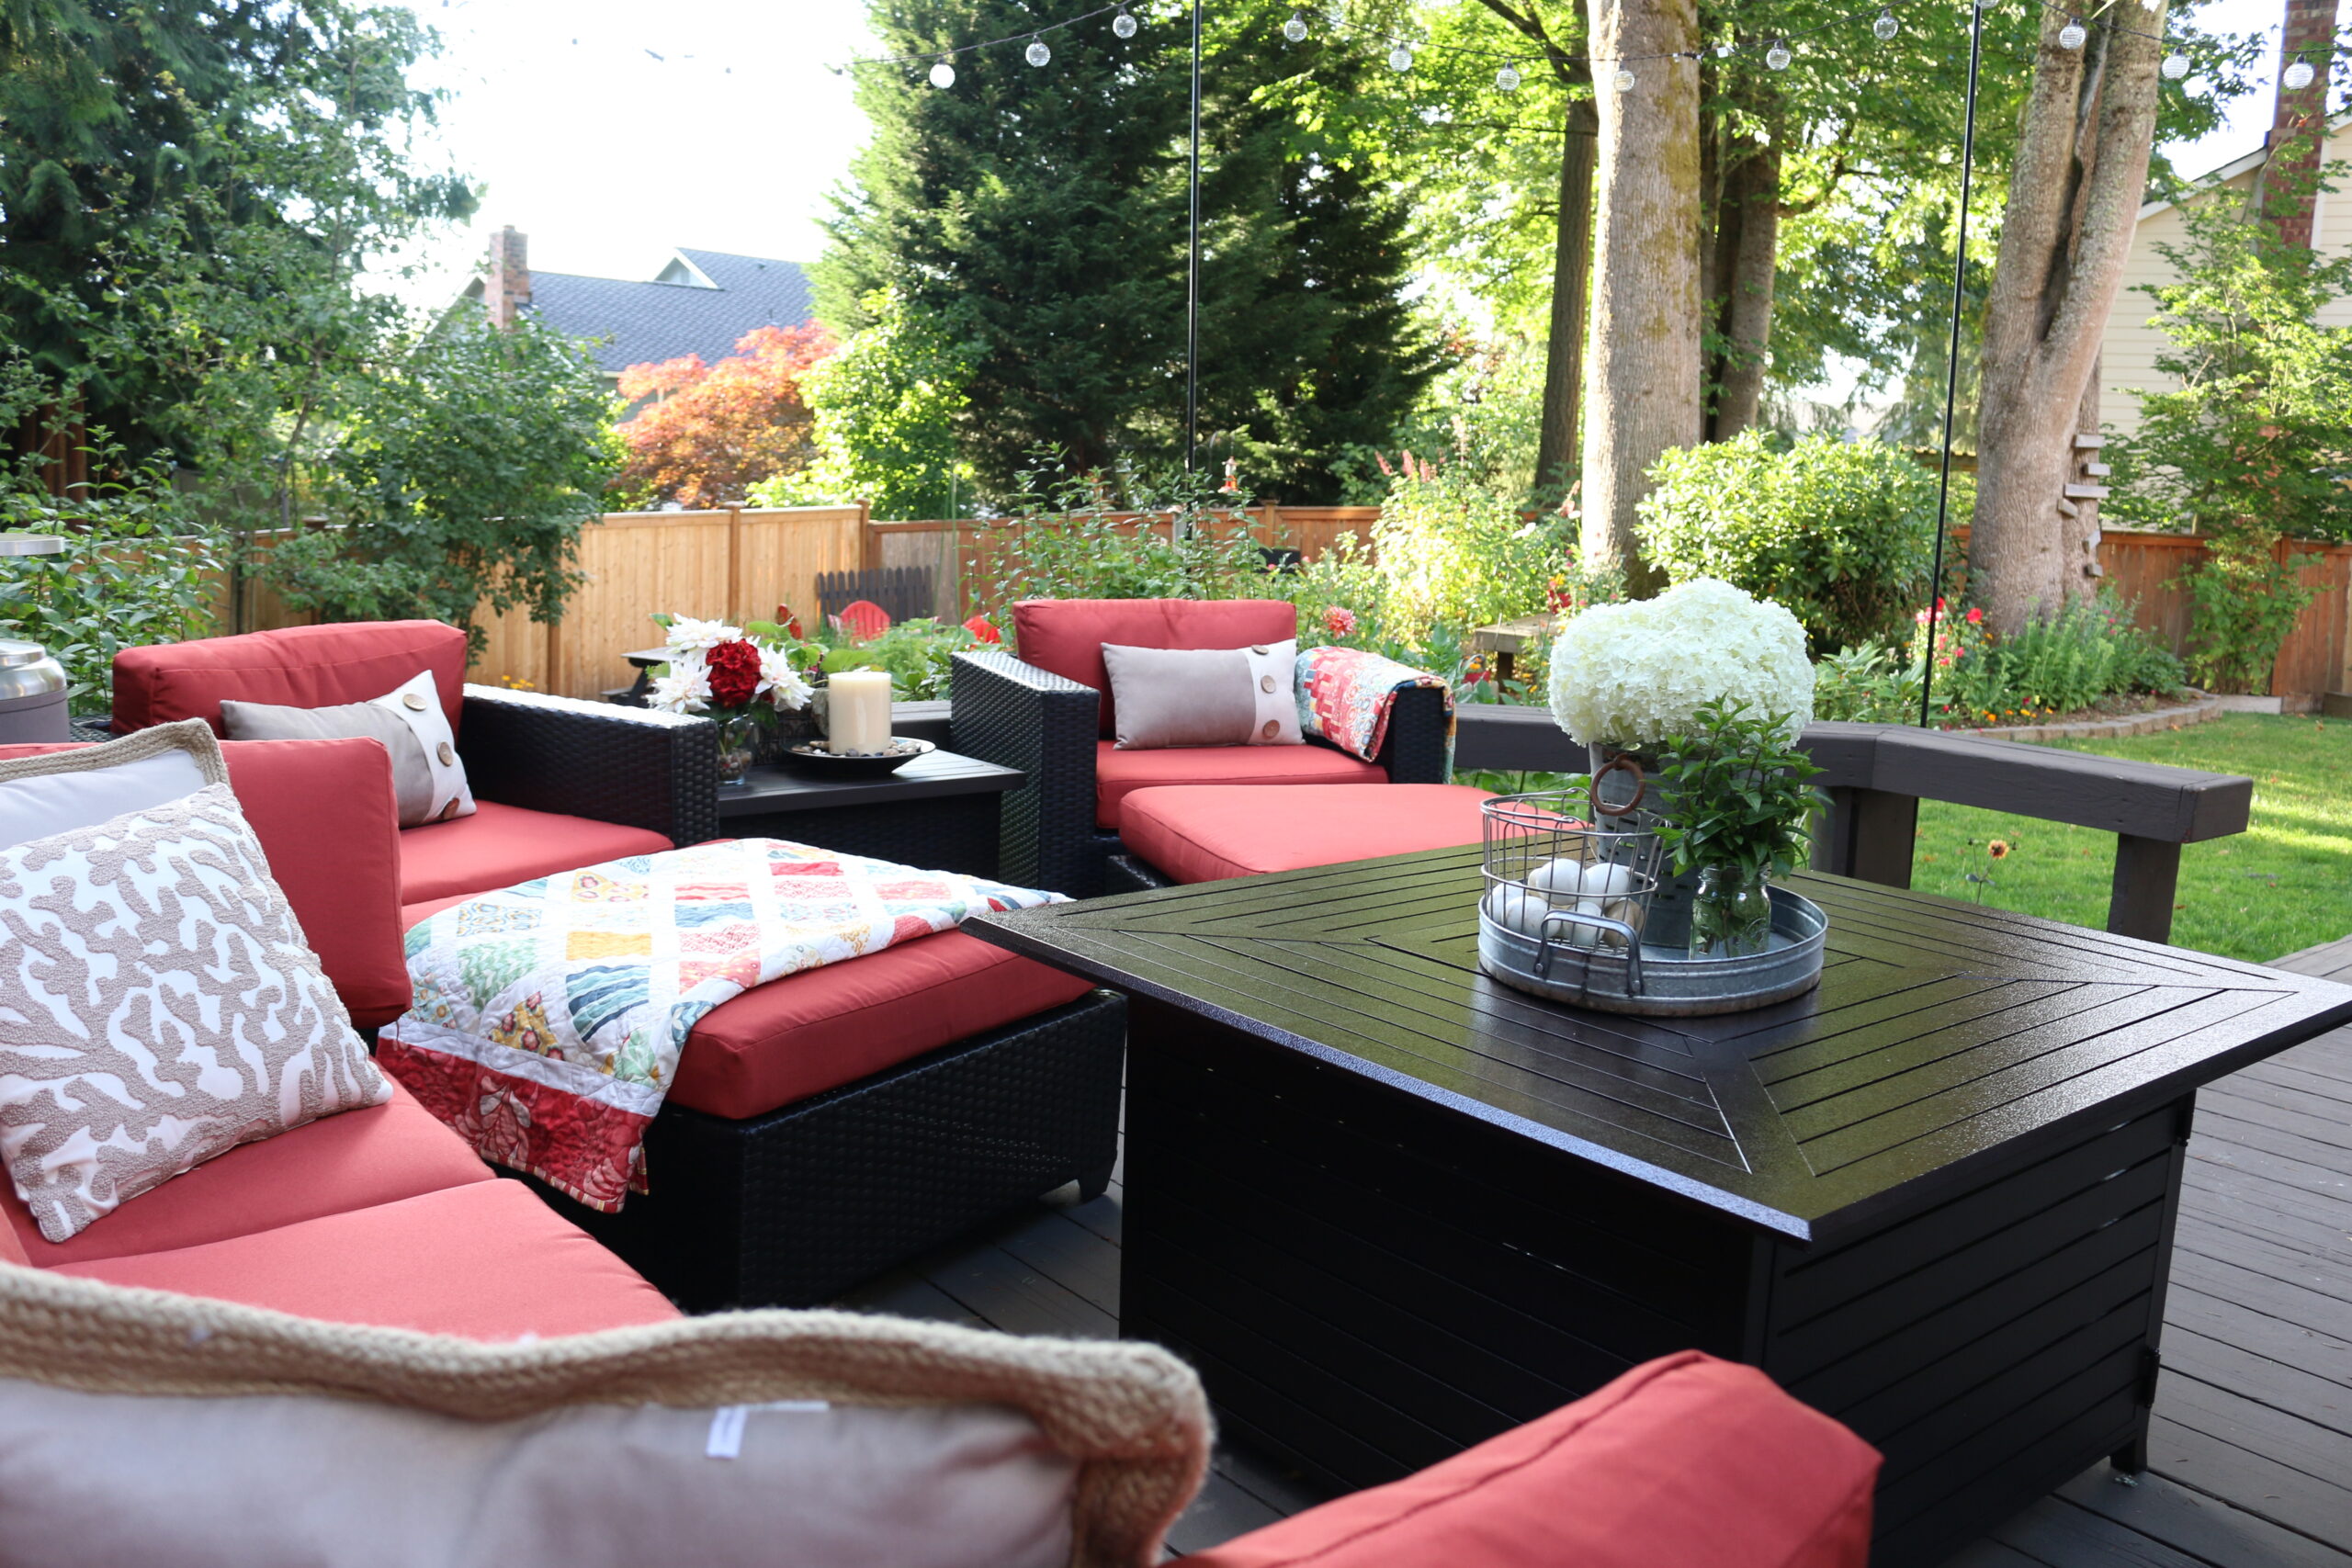
New Outdoor Furniture
I have some new outdoor furniture on the deck and I’m loving
I have some new outdoor furniture on the deck and I’m loving
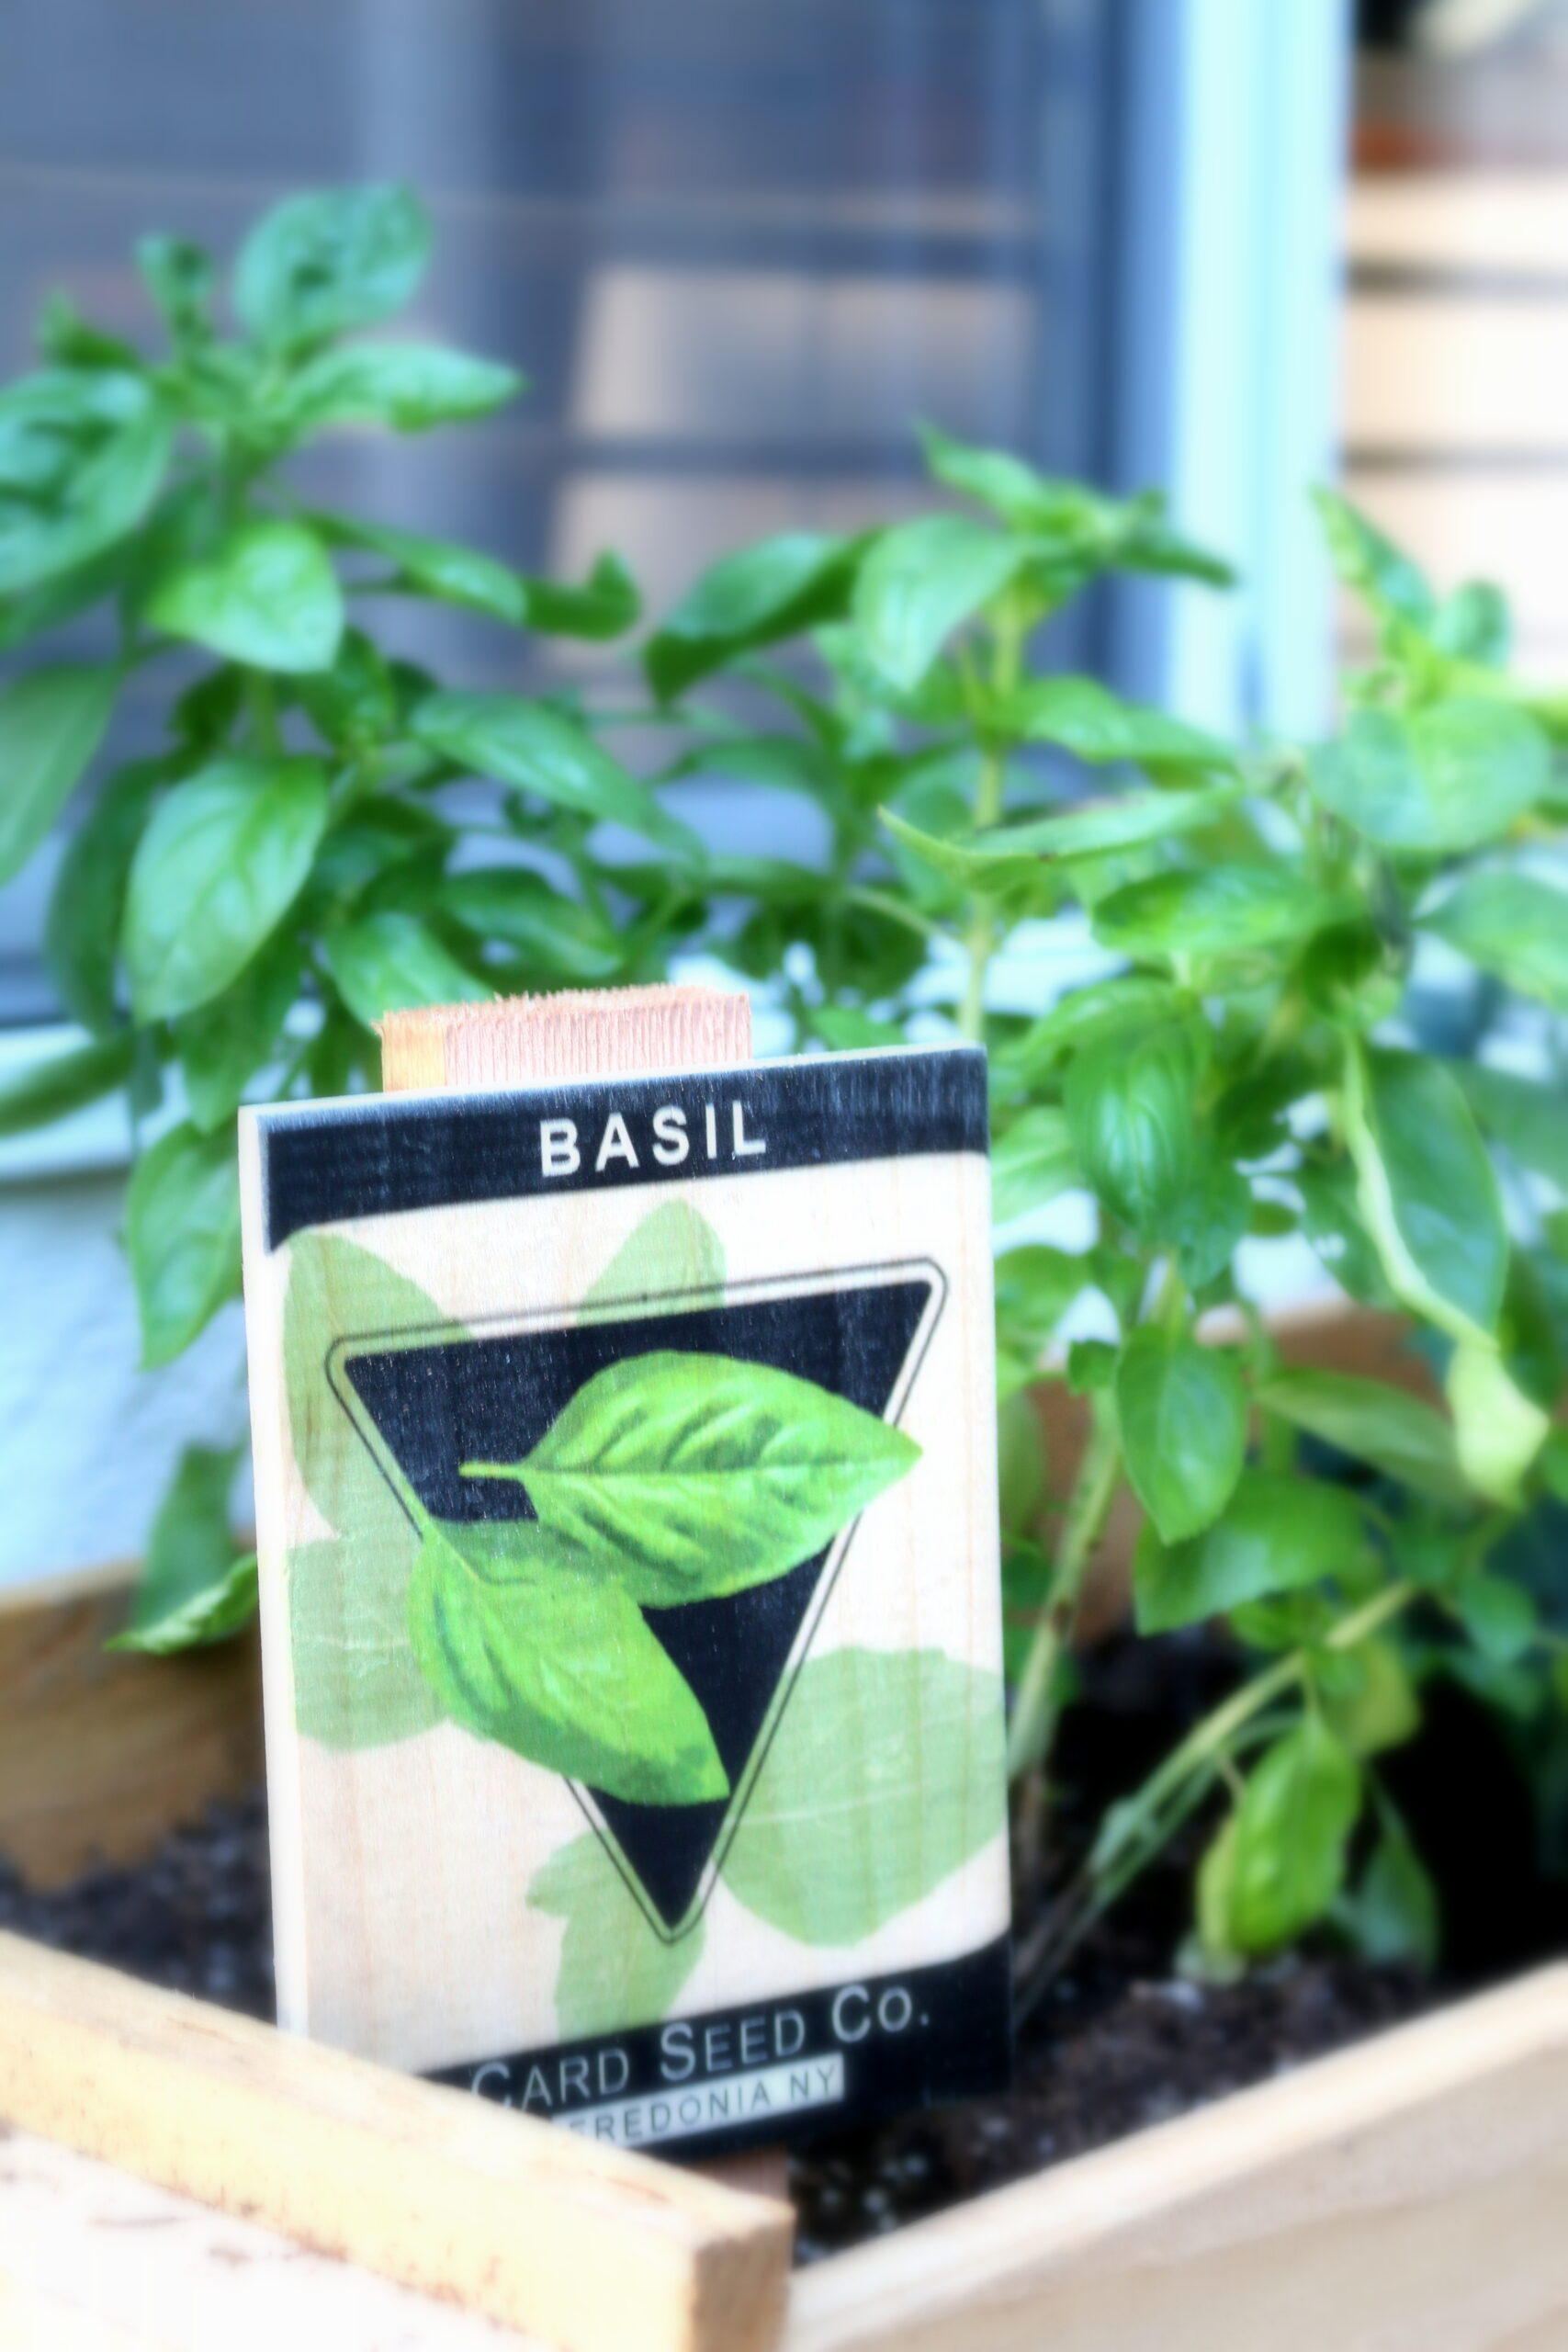
I have some new additions to the garden, and I don’t mean
I can’t even begin to tell you how excited I was to
The Northwest Flower and Garden Show was in Seattle in Mid-February and
Oh, if the rain would only stop! I’m ready for some dry
It’s been many years since my son was in Cub Scouts, but
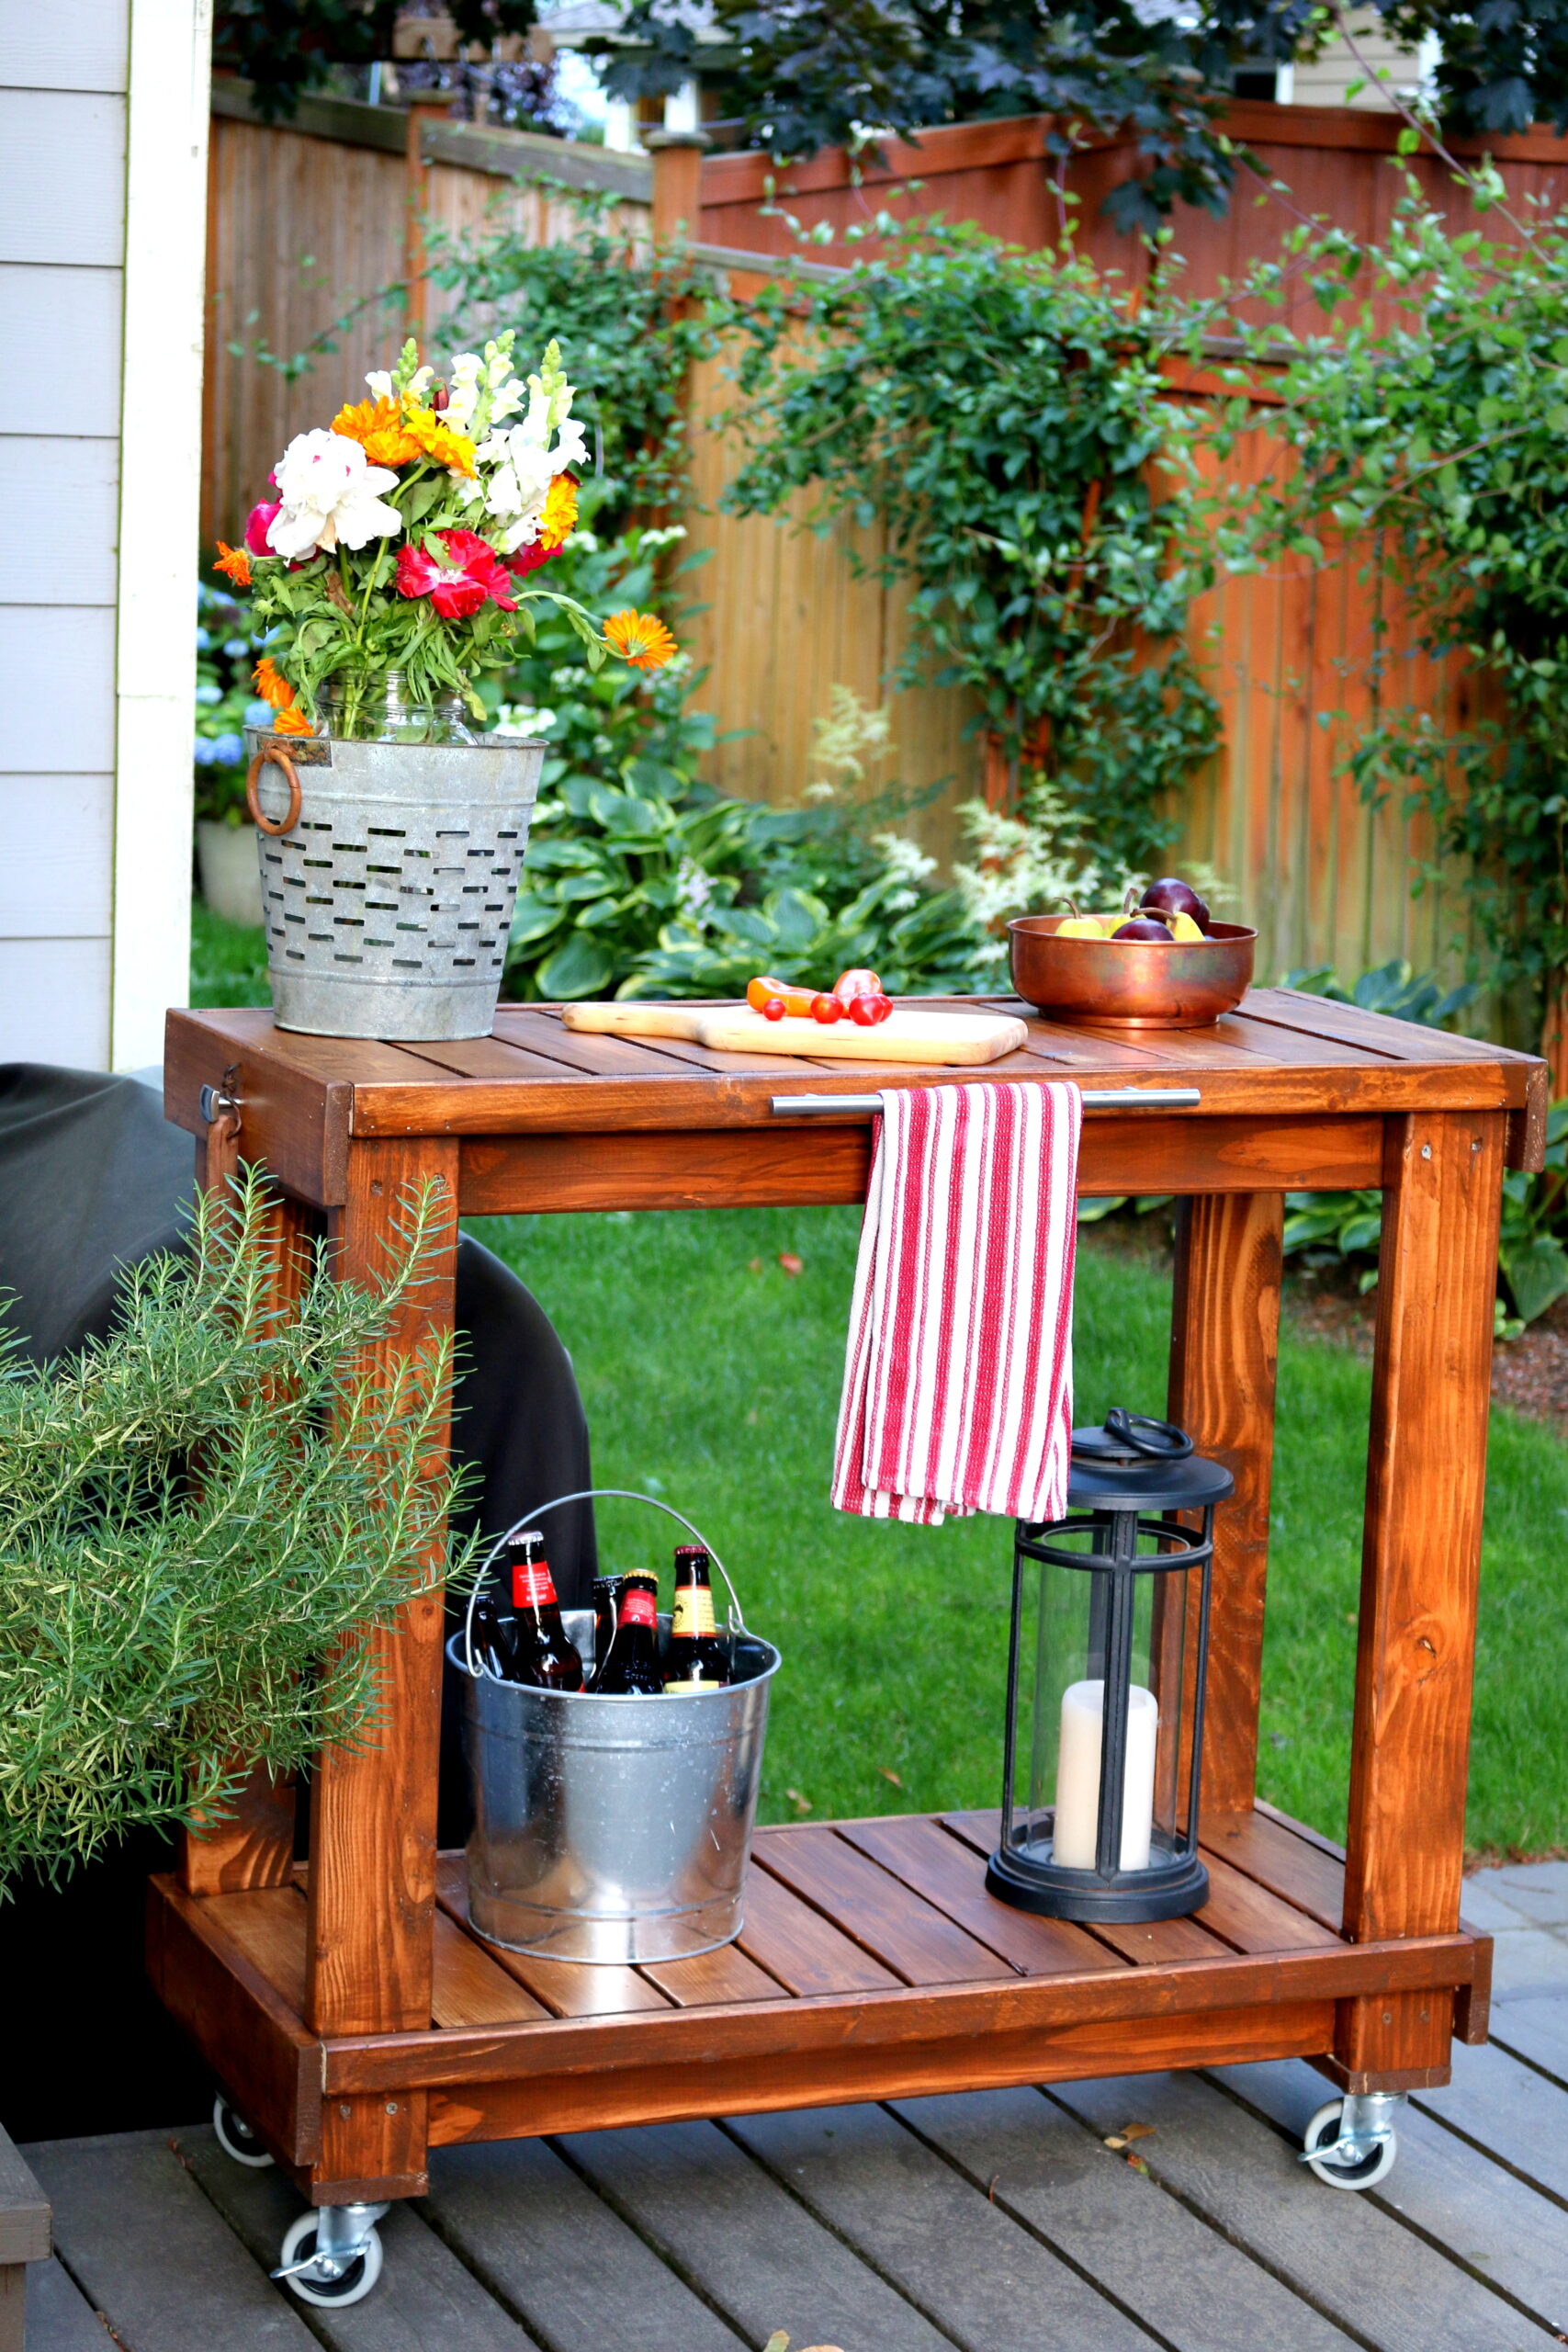
I could happily spend my Summer days working in my garden. My
I always struggle a bit this time of year. I just can’t
Hello friends! I want to share a product that I love with

I had no idea it was National Cookie Day until my sister